
Introduction to Red White and Blue Cake Balls
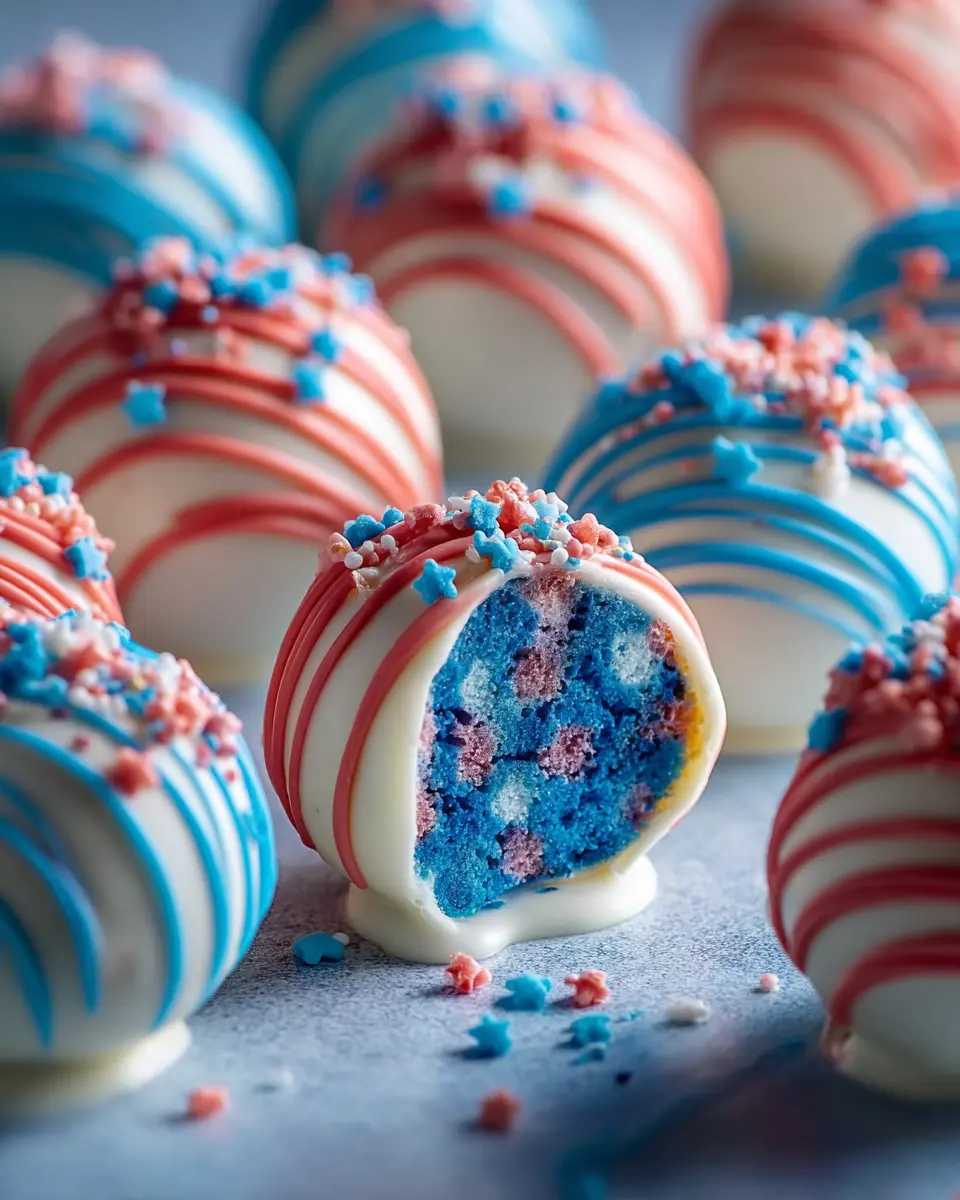
If you're a young professional looking for a delightful treat to brighten up your next gathering or simply to enjoy after a long workday, Red White and Blue Cake Balls are just what you need! These bite-sized delights not only satisfy your sweet tooth but also offer the perfect presentation for summer picnics, holiday barbecues, or even those casual Friday office parties.
Why do these cake balls stand out? Not only are they fun and easy to make, but they also allow you to unleash your creativity in the kitchen. It’s amazing how a simple white cake mix, a dash of food coloring, and some sprinkles can transform into an eye-catching treat that has everyone asking for the recipe. Plus, they’re excellent for meal prepping or as a quick dessert fix that you can customize for any occasion!
Did you know that cake balls originated as a way to use up leftover cake? Today, they have become a beloved dessert with endless variations. If you’re interested in learning more about making cake pops and cake balls, you might want to check out resources like The Spruce Eats or Bon Appétit for tips and tricks.
So, roll up your sleeves, gather your ingredients, and let’s make these red, white, and blue beauties together!
Ingredients for Red White and Blue Cake Balls
When it comes to celebrating with delicious treats, Red White and Blue Cake Balls are a must-try. Here's a simple list of ingredients you’ll need to whip up this festive dessert:
- 1 box white cake mix plus the ingredients specified on the box (typically eggs, oil, and water)
- Red food coloring – vibrant gel or liquid, your choice!
- Blue food coloring – same advice applies here for that burst of color
- 8 oz cream cheese, softened – this gives the cake balls that creamy texture
- 10 oz white melting chocolate or almond bark – for a delightful outer coating
- Red, white, and blue sprinkles – because what’s a celebration without a little sparkle?
These ingredients create a fun and enticing treat that not only looks stunning but tastes irresistible too. If you're eager to learn more about making this recipe your own, check out resources like Food Network for inspiration!
Remember, collecting your ingredients is just the beginning of a delicious adventure. Enjoy the process!
Step-by-step Preparation of Red White and Blue Cake Balls
Making Red White and Blue Cake Balls is not only a festive treat but also an enjoyable baking experience. Follow these simple steps for a delightful dessert that’s perfect for celebrations!
Preheat the oven and prepare cake batter
Start by preheating your oven to 350°F (175°C) and greasing three small baking pans. It’s essential for a smooth cake removal later. In a mixing bowl, prepare the white cake batter according to the directions on the box. This is where the magic begins—simple ingredients can lead to amazing results!
Divide and color the batter
Once your batter is ready, divide it into three equal portions. In one bowl, add red food coloring until you reach your desired shade. In another, mix in blue food coloring. Keep the third portion plain to give that beautiful red, white, and blue effect for your cake balls. Remember to use gel food coloring for vibrant colors without compromising the batter's consistency.
Bake and cool the cakes
Pour each colored batter into its prepared baking pan and bake according to the package instructions, usually around 25-30 minutes. Keep an eye on them, and check with a toothpick—if it comes out clean, they’re done! Once baked, remove the cakes from the oven and let them cool completely in the pans before transferring them to a wire rack. Cooling is crucial, as warm cakes will turn your cake balls into a mushy mess!
Crumble the cakes and mix with cream cheese
After cooling, it’s crumbling time! Carefully break each cake into a separate bowl. The texture should be fine; no large chunks should remain. In another bowl, beat 8 oz of softened cream cheese until smooth, and then combine it with each bowl of crumbled cake. This mixture creates a soft dough that’s easy to handle.
Form cake balls and chill
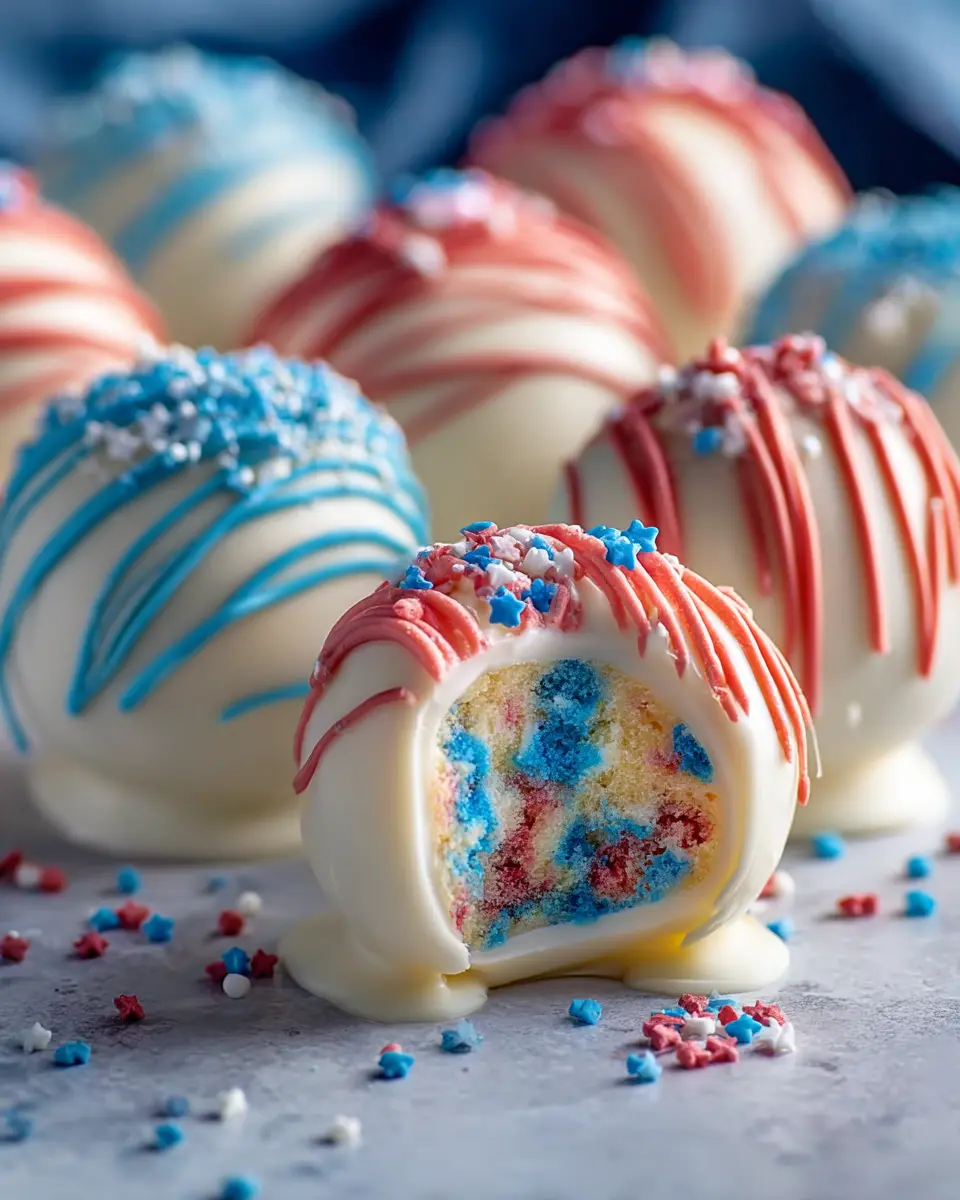
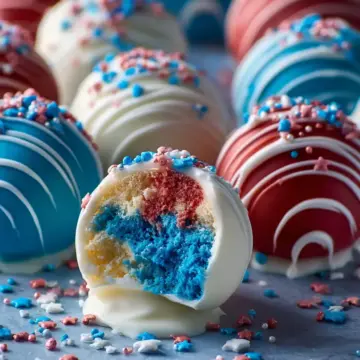
Take small portions from each colored cake mixture and combine them to form 1-inch balls. The combination of colors will create a stunning gradient. Place each cake ball on a lined tray and refrigerate them for at least 30 minutes—this helps them hold their shape for the next step.
Melt chocolate and dip the cake balls
In a microwave-safe bowl, melt your 10 oz of white melting chocolate or almond bark. Do this in short intervals, stirring frequently to ensure a smooth consistency without clumps. Once melted, dip each chilled cake ball into the chocolate, letting the excess drip off. This layer of chocolate will seal in all that deliciousness.
Decorate with sprinkles and chill again
For the final touch, drizzle any leftover chocolate over the cake balls for added flair, then sprinkle with red, white, and blue sprinkles while the coating is still wet. Return the decorated cake balls to the fridge until the chocolate is set.
These Red White and Blue Cake Balls are not just eye-catching; they’re bound to impress at any gathering. Happy baking!
Variations on Red White and Blue Cake Balls
Change up the colors for different occasions
The beauty of Red White and Blue Cake Balls lies in their versatility! Feel free to adjust the colors depending on the celebration—think green and gold for St. Patrick’s Day or pastel shades for a springtime tea party. Using gel food coloring can help achieve vibrant and distinct colors that won't alter the cake's texture. For more fun ideas, check out Food Network for color themes that fit holidays throughout the year.
Substitute cream cheese with other fillings
While cream cheese gives these cake balls a delightful tang, you can get creative with the filling! Try swapping it out for marshmallow fluff for a sweeter, fluffier texture or use buttercream frosting for a classic flavor twist. You could also experiment with flavored cream cheeses like chocolate or strawberry for an unexpected surprise. Each filling brings a unique taste profile, making your Red White and Blue Cake Balls even more special for your guests!
Cooking Tips and Notes for Red White and Blue Cake Balls
Using Gel Food Coloring
When creating your Red White and Blue Cake Balls, opt for gel food coloring instead of liquid dye. Gel food coloring provides vibrant hues without watering down your batter, ensuring those colors pop beautifully once baked. A little goes a long way, so start with a small amount and adjust as needed.
Importance of Cooling and Chilling
Don’t rush the cooling process! Allow your cakes to cool completely before crumbling. This helps maintain the right texture when mixing in cream cheese. After forming your cake balls, chilling them helps preserve their shape during chocolate dipping, preventing any undesirable mishaps.
Melting Chocolate Without Clumping
To achieve the perfect chocolate coating, melt your chocolate slowly in short intervals. Stir thoroughly between each interval to ensure an even melt. If you notice any clumping, a small splash of vegetable oil can help smooth it out. This technique will ensure your Red White and Blue Cake Balls have a glossy finish!
For more melting chocolate tips, you can check out this guide on proper melting techniques. Happy baking!

Serving Suggestions for Red White and Blue Cake Balls
Perfect for Parties and Gatherings
These Red White and Blue Cake Balls are the ultimate crowd-pleaser, perfect for summer picnics, birthday parties, or casual get-togethers. Just imagine serving these delightful treats alongside sparklers or under the stars at a backyard barbecue. Their vibrant colors add a festive touch to any table, making them a hit with kids and adults alike. Try arranging them on a whimsical platter for a beautiful visual appeal.
Pairing with Fresh Fruit or Whipped Cream
For an added burst of flavor, consider pairing your cake balls with fresh berries, like strawberries or blueberries, which complement the cake's sweetness beautifully. Alternatively, serve them with a dollop of whipped cream for a deliciously creamy contrast. You could even dust a bit of powdered sugar on top for extra flair. Your guests will appreciate the thoughtful pairings that elevate their dessert experience!
Make your celebrations unforgettable with these charming Red White and Blue Cake Balls. They’re not only delightful to eat but also fun to share! For more creative serving ideas, check out these fruit pairing tips.
Time Breakdown for Red White and Blue Cake Balls
When you’re planning to whip up some delightful Red White and Blue Cake Balls, it’s helpful to know the timing involved. Here’s a quick breakdown:
Preparation Time
Approximately 20 minutes for mixing, coloring, and crumbling the cake.
Baking Time
Around 25-30 minutes to bake the cakes to a fluffy perfection.
Chilling Time
Plan for about 1 hour in the refrigerator to firm up those cake balls before dipping.
Total Time
Altogether, you’ll need about 2 hours to create these festive treats. Perfect for a weekend baking project or a fun gathering with friends!
For more tips and techniques on enhancing your baking skills, check out this helpful baking resource.
By knowing the time breakdown, you can easily fit this recipe into your busy schedule while still impressing your friends and family with a scrumptious dessert! Want some more cake inspiration? Explore various cake ball recipes to customize your festive treats!
Nutritional Facts for Red White and Blue Cake Balls
When you indulge in these delightful Red White and Blue Cake Balls, knowing the nutritional content can be just as fun as making them! Here’s a quick look at what you’re treating yourself to:
- Calories: Approximately 120 per cake ball, making them a sweet bite that’s easy to enjoy.
- Fat: Each ball contains around 6 grams of fat, thanks to the cream cheese and chocolate coating, providing a rich mouthfeel.
- Sugar: With about 9 grams of sugar, these cake balls are a sweet treat perfect for celebrations.
If you’re curious about balancing treats with nutritious options, check out Healthline for helpful insights on maintaining a balanced diet while enjoying your favorite desserts!
FAQ about Red White and Blue Cake Balls
Can I make these cake balls in advance?
Absolutely! Red White and Blue Cake Balls can be made a day or two ahead of your event. Just make sure to store them in the fridge once they’re fully coated and set. This not only saves you time but allows the flavors to meld beautifully!
How do I store leftover cake balls?
If you have any leftovers (though they might just disappear quickly!), store them in an airtight container in the fridge. They can last for up to a week, making them a perfect treat for snacking throughout the week. Just be sure to let them sit at room temperature for a few minutes before enjoying for the best texture.
What substitutions can I make if I don’t have certain ingredients?
No need to stress over missing ingredients! You can use any cake mix you have on hand—chocolate would be a fun twist. For the cream cheese, Greek yogurt or a dairy-free cream cheese can work from personal experience. Explore these substitutions based on your pantry, and feel free to experiment with different decorations for a unique take!
For more tips on ingredient substitutions, you can check out this resource.
Conclusion on Red White and Blue Cake Balls
In summary, Red White and Blue Cake Balls are not only visually appealing but also a delightful treat that’s easy to make. Perfect for celebrations or casual get-togethers, these cake balls bring a burst of flavor alongside festive colors. So why not whip up a batch and impress your friends?
For more fun recipes, check out Food Network's dessert section.
Red White and Blue Cake Balls That Are Fun and Easy to Make
Equipment
- oven
- Mixing bowls
- baking pans
- refrigerator
- tray
- microwave
Ingredients
- 1 box white cake mix plus ingredients listed on the box
- red food coloring use gel for vibrant colors
- blue food coloring use gel for vibrant colors
- 8 oz cream cheese softened
- 10 oz white melting chocolate or almond bark
- red white and blue sprinkles
Instructions
- Preheat oven and grease three small baking pans. Prepare cake batter according to package directions and divide into three portions. Color one red, one blue, and leave one plain. Bake separately and cool completely.
- Crumble each cooled cake into separate bowls. Beat cream cheese until smooth and mix into each bowl until a soft dough forms.
- Take small portions from each color and combine to form 1 inch balls. Place on a lined tray and refrigerate until firm.
- Melt chocolate in short intervals, stirring until smooth. Dip each chilled ball into the coating and let excess drip off.
- Drizzle extra chocolate on top and immediately add sprinkles. Chill until coating is set, then refrigerate until ready to serve.

Leave a Reply