
Introduction to No-Bake Energy Bites
The Rise of Energy Bites in Homemade Snacks
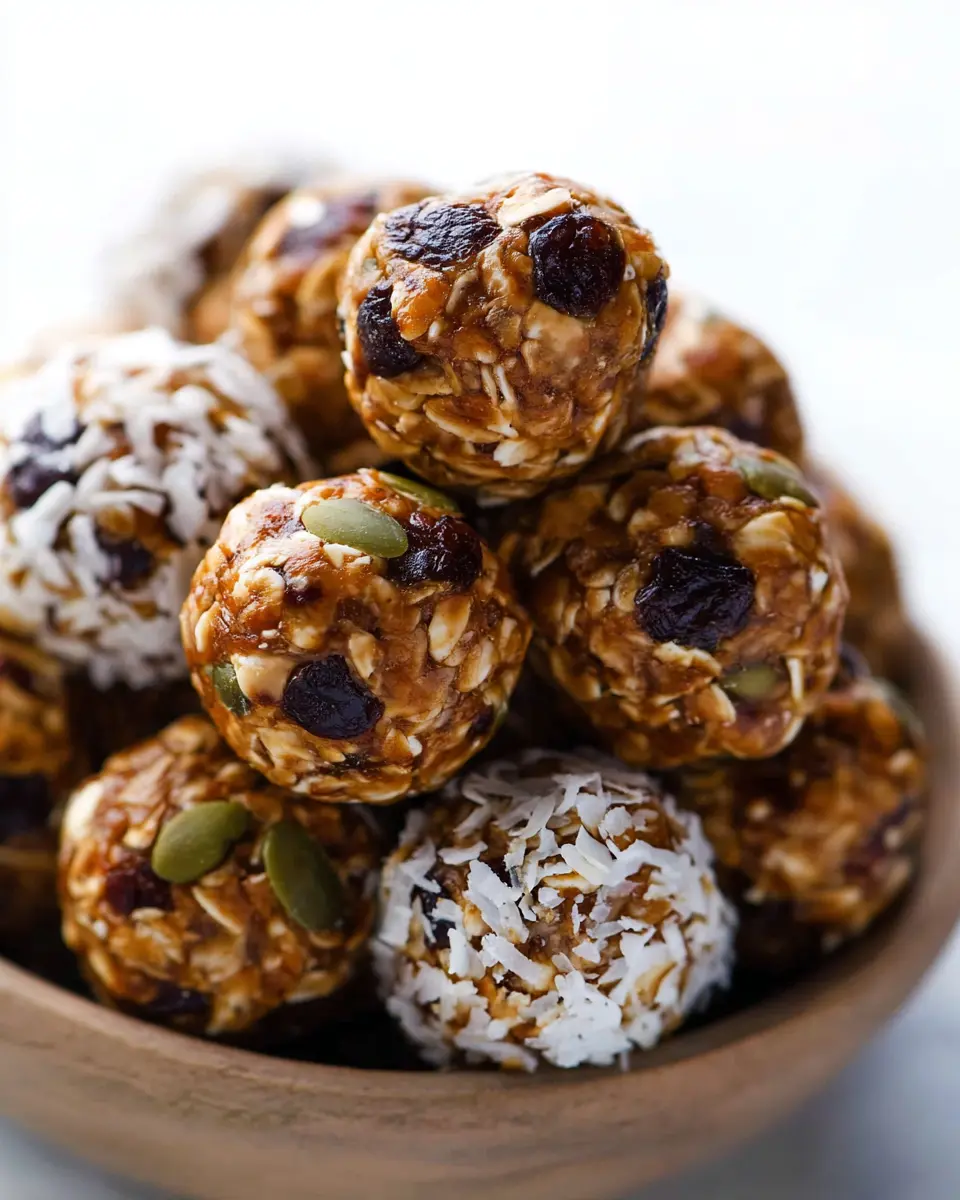
In the fast-paced world we live in, no-bake energy bites have emerged as a popular solution for quick, nutritious snacking. These little balls of goodness not only pack a flavorful punch but are also incredibly versatile, making them a go-to for anyone looking to meet their healthy eating goals.
Why have energy bites taken the homemade snack scene by storm? Part of it is their simplicity. With just a handful of wholesome ingredients, you can whip up a batch in no time—perfect for busy young professionals balancing work and life. Plus, they offer a great way to sneak in some nutrients. For example, ingredients like ground flaxseed and chia seeds are rich in omega-3 fatty acids and fiber, contributing to overall well-being.
Additionally, energy bites are perfect for customizing. Whether you're craving chocolate, nuts, or dried fruit, the possibilities are endless. You can even tailor them to fit specific dietary needs, like vegan or gluten-free. So, if you’re looking for a snack that’s delicious, simple, and healthy, your search ends here! Ready to dive into making your own? Let’s get started!
Ingredients for No-Bake Energy Bites
When you're looking for a quick energy boost, no-bake energy bites are an ideal solution! Here’s a look at the key ingredients that make these bites not only delicious but also packed with nutrients.
Key Ingredients for Your Energy Bites
- Old-Fashioned Oats: These provide a hearty base, delivering fiber that keeps you full.
- Toasted Shredded Coconut: Choose between sweetened or unsweetened for that delightful tropical flavor.
- Creamy Peanut Butter: A must-have for richness and protein; it also helps bind everything together.
- Ground Flaxseed: This is a great source of omega-3 fatty acids and fiber, enhancing the nutritional value.
- Semisweet Chocolate Chips: Because let’s be honest, a little sweetness doesn’t hurt; opt for vegan chocolate if you prefer.
- Honey: A natural sweetener that helps keep the bites moist and chewy.
- Vanilla Extract: A touch of this adds a comforting aroma and flavor.
Optional Additions for Extra Flavor
For even more deliciousness, consider adding:
- Chia Seeds: Just a tablespoon can give your bites a slight crunch and extra nutritional benefits.
- Nutmeg or Cinnamon: A sprinkle of these spices can elevate the flavor profile.
- Dried Fruits: Think raisins or cranberries for a burst of sweetness.
Feel free to mix and match based on your preferences. The beauty of these no-bake energy bites is their versatility, allowing you to be as creative or as simple as you wish!
Preparing No-Bake Energy Bites
Making your own no-bake energy bites is an easy and satisfying way to enjoy a nutritious snack. Here's a step-by-step guide to help you whip up these delightful treats.
Gather your ingredients
The first step is to gather all your ingredients. Here’s what you need for these yummy no-bake energy bites:
- 1 cup old-fashioned oats
- ⅔ cup toasted shredded coconut (you can choose sweetened or unsweetened)
- ½ cup creamy peanut butter
- ½ cup ground flaxseed
- ½ cup semisweet chocolate chips (or vegan chocolate chips)
- ⅓ cup honey
- 1 tablespoon chia seeds (optional but highly recommended)
- 1 teaspoon vanilla extract
When you're ready, ensuring all ingredients are fresh will make your bites taste even better!
Mix the dry ingredients
Once you have everything, the next step is to mix the dry ingredients. In a large mixing bowl, combine the old-fashioned oats, toasted shredded coconut, ground flaxseed, and chia seeds if you're using them. This blend of textures creates a delightful base for the no-bake energy bites. Stir everything until it’s evenly mixed, and the oats and coconut are well incorporated.
Combine with wet ingredients
Now for the fun part! Add in your creamy peanut butter, honey, and vanilla extract to the dry mixture. Using a spatula or a wooden spoon, mix these wet ingredients in until everything is thoroughly combined. The mixture might seem sticky, but that’s what holds your bites together! Remember, you can adjust the sweetness by adding a bit more honey or using maple syrup for a different flavor.
Chill the mixture
To ensure that the energy bites are easy to shape, chill the mixture in the refrigerator for about 1-2 hours. If you're eager to enjoy them sooner, you could spread the mixture onto a baking sheet and pop it in the freezer for about 20-30 minutes. This will firm things up nicely!
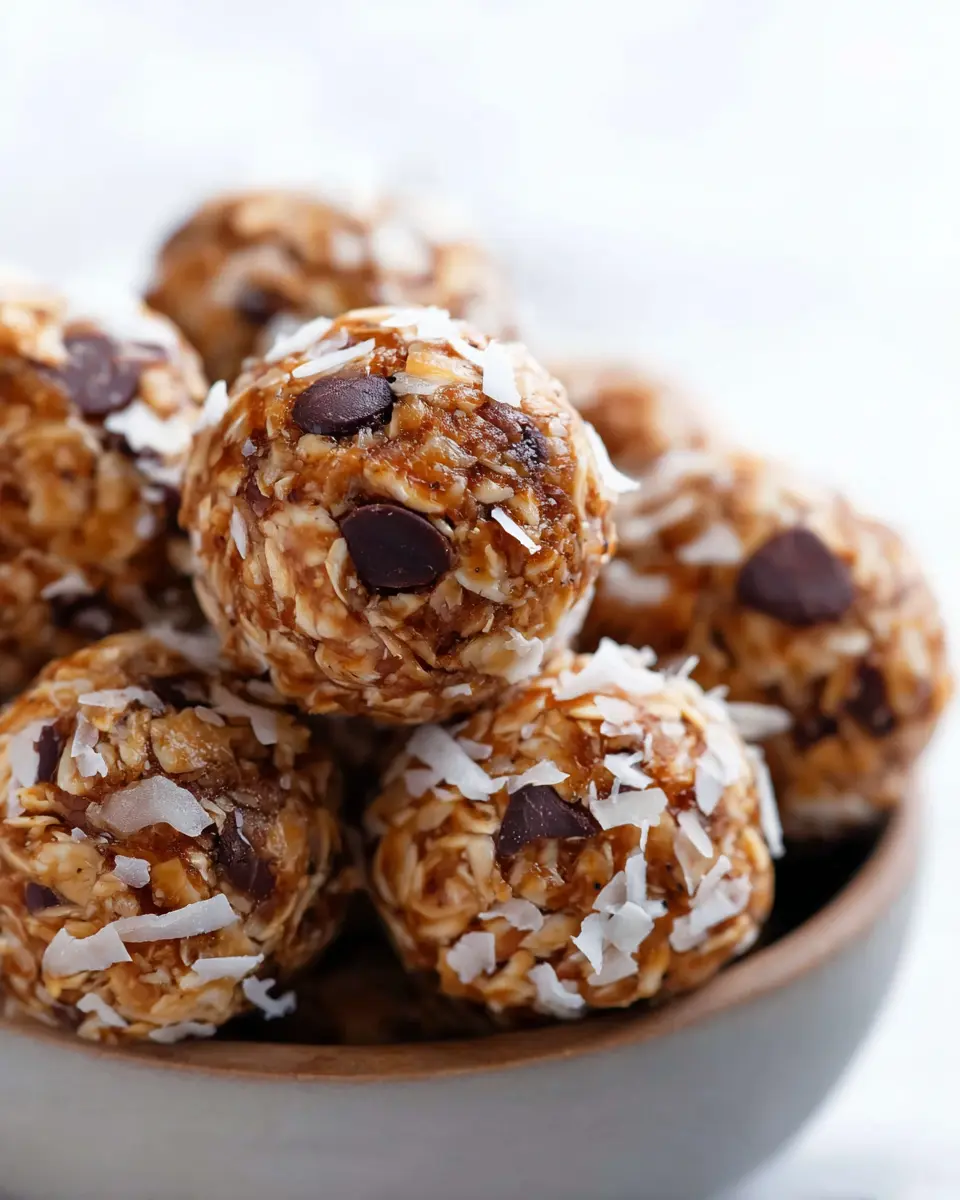
Roll and store your energy bites
Once chilled, it’s time to roll your no-bake energy bites. Scoop out about a tablespoon of the mixture, roll it into a ball, and set it aside on a plate. Repeat until you've rolled all of the mixture.
To store your bites, place them in an airtight container in the fridge for up to a week. You can also freeze them for longer-lasting enjoyment—up to three months! Now you're all set to enjoy these nutritious snacks anytime you need a boost. Whether you're on the go or at your desk, these no-bake energy bites are the perfect solution to curb your cravings while fueling your day!
Variations on No-Bake Energy Bites
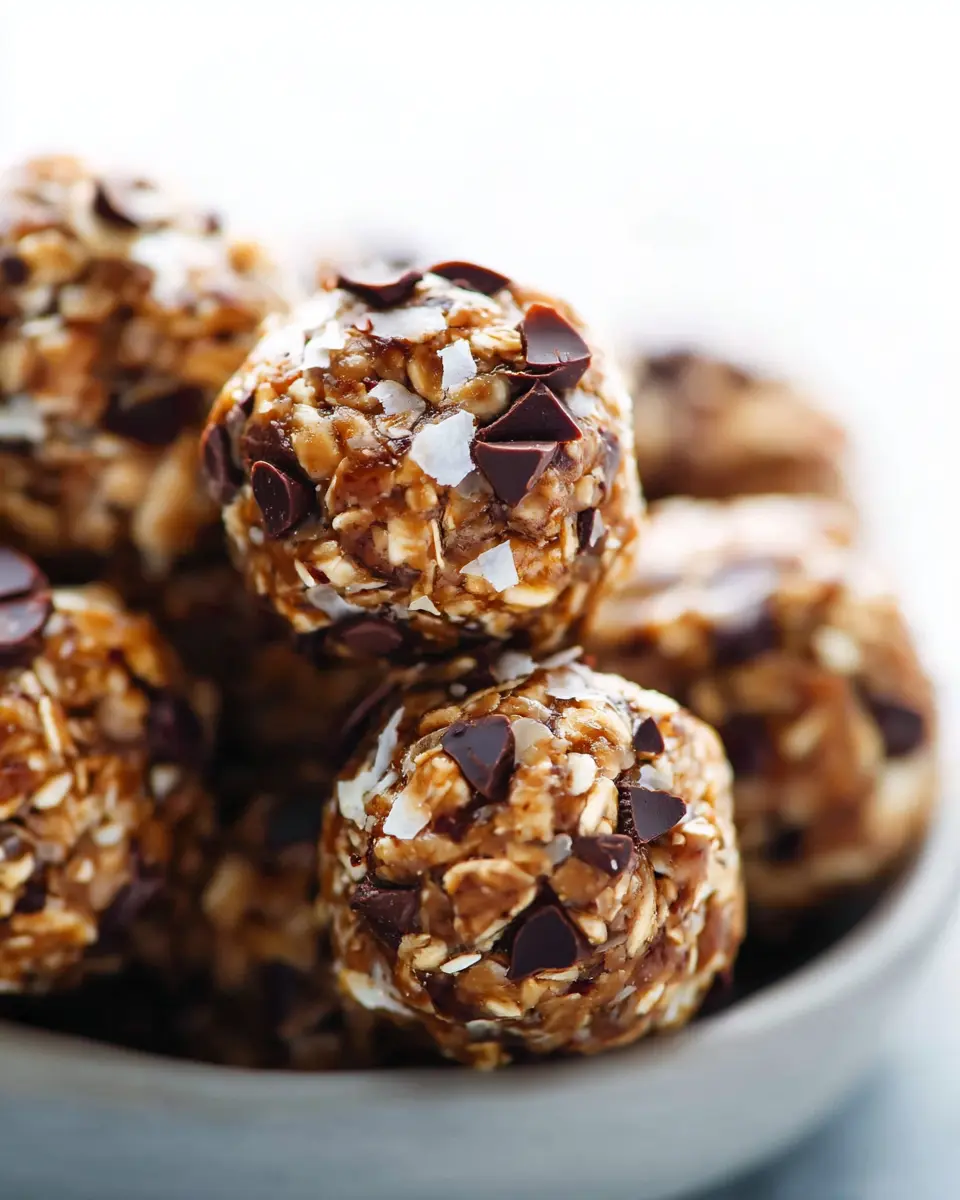
Chocolate Chip Variations
While chocolate chips are a classic, there are so many delicious ways to mix things up! Consider adding different flavors, like dark chocolate chips for a richer taste, or even some white chocolate chips for a sweeter profile. You can also toss in cocoa nibs for an added crunch and a hit of antioxidants. Feeling adventurous? Try integrating some caramel bits or peanut butter chips to make your no-bake energy bites even more indulgent.
Nut Butter Alternatives
Not every energy bite needs peanut butter! Switch things up by using almond butter for a milder flavor or try sunflower seed butter for a nut-free option. If you’re a fan of tahini, it can add a unique, creamy twist that’s both delicious and nutritious. For those allergic to nuts or wanting a different taste, cashew butter or hazelnut spread are fantastic alternatives too—offering their own distinct flavors while keeping the bites satisfying and full of healthy fats.
Experiment with these variations to discover your favorite flavor combinations, and adjust the ingredients according to your dietary preferences!
Cooking Notes for No-Bake Energy Bites
Tips for Achieving the Right Consistency
For perfectly textured no-bake energy bites, the key is balancing the ingredients. If your mixture feels too dry, add a splash more honey or peanut butter. On the other hand, if it’s too sticky, a bit more oats or ground flaxseed can help. Chilling the mixture for at least an hour is crucial—it makes rolling the balls much easier!
Storage Tips for Freshness
To keep your no-bake energy bites fresh, store them in an airtight container in the refrigerator for up to a week. Alternatively, these bites freeze beautifully! Just separate them with parchment paper and pop them in a freezer-safe bag for up to three months. You'll always have a quick, healthy snack on hand!
Serving suggestions for No-Bake Energy Bites
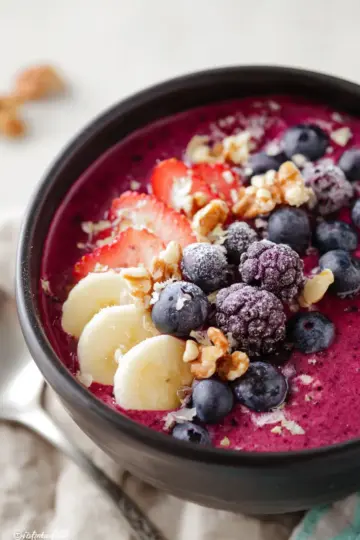
Perfect pairings with beverages
No-bake energy bites are delightfully versatile and can be enjoyed with various beverages. Try pairing them with a creamy almond milkshake or a refreshing herbal iced tea for a trendy twist. For a morning boost, serve these bites with your favorite smoothie or coffee — the peanut butter and chocolate flavors make them a match made in heaven!
Using energy bites as pre-workout fuel
These no-bake energy bites are perfect for fueling your workouts. Packed with protein from the peanut butter and fiber from the oats, they provide sustained energy without weighing you down. Enjoy one or two bites about 30 minutes before hitting the gym, and you’ll feel ready to tackle those challenging workouts! Whether you're lifting weights or going for a run, they're a convenient snack that keeps you going.
Time Breakdown for No-Bake Energy Bites
Preparation Time
Preparing your no-bake energy bites is quick and easy! You’ll only need about 10-15 minutes to gather your ingredients and mix everything in a bowl.
Chilling Time
After mixing, the key to the perfect texture is chilling. Cover the bowl and refrigerate for 1-2 hours to allow the mixture to firm up—this helps achieve those beautifully rollable bites.
Total Time
From start to finish, you’re looking at around 1 hour and 15 minutes to 2 hours and 15 minutes, depending on how long you choose to chill. Just think, in just a couple of hours, you'll have a delicious, nutritious snack ready to enjoy!
If you're in a bit of a rush, spreading the mixture out on a baking sheet can cut down the chilling time to about 20-30 minutes. What a great time-saver!
For more delicious recipes and tips for healthy snacking, check out EatingWell or Healthline.
Nutritional Facts for No-Bake Energy Bites
When it comes to no-bake energy bites, they’re not only convenient but also packed with nutrition. Here's a brief overview of their nutritional benefits:
Calories per bite
Each bite contains approximately 100 calories, making them a great energy-boosting snack while keeping your calorie count in check.
Protein content
With a solid 3-4 grams of protein per bite, these energy snacks provide a satisfying boost to keep you full and energized throughout the day.
Healthy fats included
Thanks to ingredients like peanut butter and ground flaxseed, each bite is enriched with healthy fats, offering about 5-6 grams per serving. These fats are beneficial for heart health and provide sustained energy.
These nutritional treasures are perfect for a pre-workout snack or a mid-afternoon pick-me-up! Want to learn more about the benefits of these ingredients? Check out sources like the American Heart Association for healthy fat insights or the Mayo Clinic for info on protein's role in your diet.
FAQs about No-Bake Energy Bites
Can I substitute ingredients?
Absolutely! One of the best things about no-bake energy bites is their versatility. If you’re allergic to peanuts, for instance, you can easily swap in almond or sunflower seed butter. Don’t like coconut? Omit it or replace it with nuts for a bit of crunch. Play with different sweeteners like maple syrup or agave nectar, and feel free to toss in extras like dried fruits or seeds to suit your taste.
How long do they last in the fridge?
When stored in an airtight container, your no-bake energy bites will stay fresh in the fridge for about a week. You can also freeze them for up to three months, making them a perfect option for meal prep!
Are energy bites safe for kids?
Yes! These energy bites are not only kid-friendly but also a great way to sneak in some nutrition. Just be mindful of allergies—especially with ingredients like peanut butter or chia seeds. Overall, they make for a delicious and healthy snack that children can enjoy any time of day.
Conclusion on No-Bake Energy Bites
No-bake energy bites are the perfect combination of taste and nutrition. With their easy preparation and customizable ingredients, you can create a snack that fits your lifestyle. Whether for a quick breakfast or an afternoon pick-me-up, these bites are a delicious solution to keep you energized throughout your busy day. Consider trying variations of this recipe and share your favorite combinations with friends! For more snack ideas, check out this healthy snack guide.

No-Bake Energy Bites
Equipment
- Large mixing bowl
Ingredients
- 1 cup old-fashioned oats https://amzn.to/40cdvlY
- ⅔ cup toasted shredded coconut (sweetened or unsweetened) https://amzn.to/4893FTX
- ½ cup creamy peanut butter https://amzn.to/3A2ndg8
- ½ cup ground flaxseed https://amzn.to/3Y6sNpI
- ½ cup semisweet chocolate chips (or vegan chocolate chips) https://amzn.to/3A5ubAU
- ⅓ cup honey https://amzn.to/40bJ5R0
- 1 tablespoon chia seeds (optional) https://amzn.to/3UdoszX
- 1 teaspoon vanilla extract https://amzn.to/405Eks1
Instructions
- Stir everything together. Stir all ingredients together in a large mixing bowl until thoroughly combined.
- Chill. Cover the mixing bowl and chill in the refrigerator for 1-2 hours, or until the mixture is chilled.
- Roll into balls. Roll the mixture into 1-inch balls.
- Serve. Enjoy immediately or refrigerate in a sealed container for up to 1 week, or freeze for up to 3 months.


Leave a Reply