
Introduction to Mini Oreo Cheesecakes
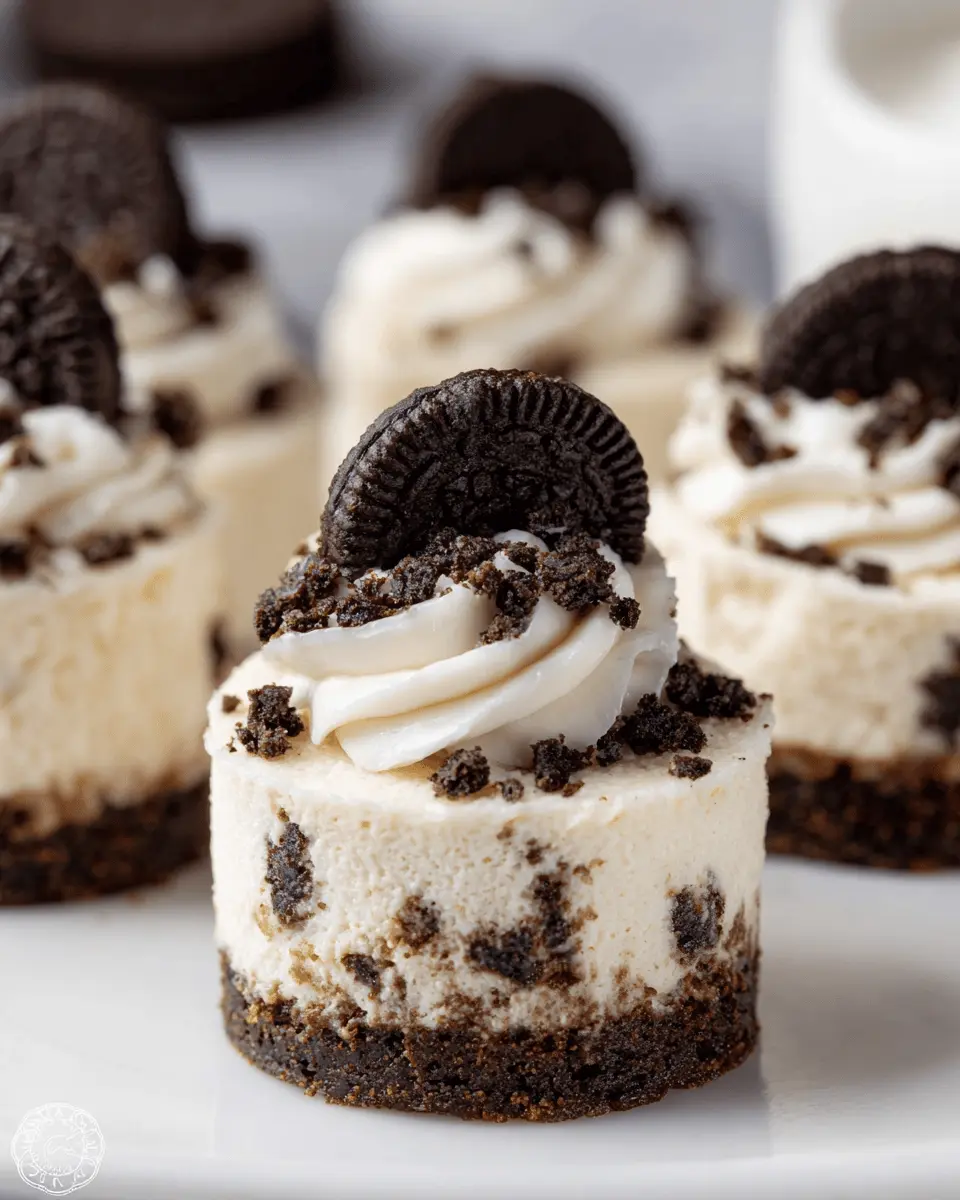
When it comes to desserts, mini Oreo cheesecakes are truly a game-changer! These adorable little treats combine the rich, creamy goodness of cheesecake with the irresistible crunch of Oreos, all conveniently portioned for individual enjoyment. Perfect for parties, potlucks, or simply as a delightful evening snack, they strike the right balance between indulgence and convenience.
Why are these mini cheesecakes a must-try? First off, they require minimal baking time, making them an ideal choice for busy weeknights. Can’t resist that Oreo cookie crust? You’ll find that crushing those cookies is as satisfying as it is delicious. Plus, the versatility of this recipe allows for endless variations. Want to add a hint of mint or chocolate? Go for it!
These mini desserts are not only easy to prepare, but they also make for stunning presentations at gatherings. Impress your friends without breaking a sweat! If you're interested in other delicious variations, check out these classic cheesecake recipes.
So grab your ingredients and let’s dive into the delightful world of mini Oreo cheesecakes!
Ingredients for Mini Oreo Cheesecakes
When you're craving something sweet yet easy to whip up, these mini Oreo cheesecakes are perfect! Let’s break down the essential ingredients you’ll need:
Essential components for the crust
The foundation of any delicious cheesecake is its crust. Here’s what you’ll need:
- 12 regular whole Oreo cookies: One package (4.8 ounces) will suffice. These provide that classic chocolate and cream flavor.
- 2 tablespoons unsalted butter: Melted, this will bind the cookie crumbs together for a sturdy base.
Key ingredients for the filling
Now, onto the creamy filling that will make your mini Oreo cheesecakes truly indulgent:
- 16 ounces full-fat cream cheese: Make sure it’s softened at room temperature for a luxuriously smooth texture.
- ½ cup granulated sugar: This will add sweetness and balance.
- 2 large eggs: Room temperature works best for even blending.
- ¼ cup sour cream: It adds tanginess, enhancing the flavor.
- 1 teaspoon vanilla extract and ⅛ teaspoon salt: For that extra depth of flavor.
- 10 regular whole Oreo cookies: Roughly chopped to mix into the filling for delightful bites.
Toppings that make them irresistible
Don’t overlook the toppings! Here’s what you’ll need to elevate your creation:
- ½ cup heavy cream: This will be whipped to create a light topping.
- 2 tablespoons powdered sugar: Sweetening the whipped cream perfectly.
- 12 mini Oreo cookies: These not only look adorable but also add a final crunch.
Consider checking out King Arthur Baking for more tips on baking with cream cheese. Happy baking!
Preparing Mini Oreo Cheesecakes
Making mini Oreo cheesecakes is a delightful journey into the world of easy baking. This recipe not only produces heavenly little desserts but also allows you to showcase your skills in a fun and impressive way! Follow along step by step, and let’s create something memorable!
Gather and measure your ingredients
Start by ensuring you have all your ingredients ready to go. Here’s what you’ll need:
- 12 regular whole Oreo cookies (one package)
- 2 tablespoons of unsalted butter, melted
- 16 ounces of softened full-fat cream cheese
- ½ cup of granulated sugar
- 2 large eggs at room temperature
- ¼ cup of sour cream
- 1 teaspoon of vanilla extract
- ⅛ teaspoon of salt
- 10 chopped regular Oreo cookies for the filling
- For the topping: ½ cup heavy cream and 2 tablespoons of powdered sugar, plus mini Oreos for decoration.
Having everything measured out will make the baking process smoother. You can check out resources like thekitchn.com for tips on ingredient preparation if you need a refresher.
Create the Oreo crust
Crushing those Oreos is one of the most satisfying steps! Toss 12 Oreos into a high-speed food processor and blend until they turn into fine crumbs. Add the melted butter and pulse until the mixture resembles wet sand. Don’t have a food processor? No worries! You can put the Oreos in a heavy-duty Ziploc bag and crush them using a rolling pin.
Once you have that crumbly magic, divide the mixture evenly into your muffin pan lined with paper cups. Press down firmly with your fingers to form a solid base for your mini cheesecakes. This step is crucial for a delectable crust!
Mix the creamy cheesecake filling
In a stand mixer bowl (or using a hand mixer), beat the softened cream cheese and sugar until it’s smooth and creamy. Just imagining that buttery texture is enough to make anyone excited! Add in the eggs, one by one, mixing well after each addition. Don’t forget to scrape those bowl sides for even mixing! Stir in the sour cream, vanilla extract, and salt before folding in the chopped Oreos.
Assemble the cheesecakes in muffin pans
With the crust ready and the filling perfected, it’s time to bring it all together! Divide the cheesecake batter amongst the muffin cups, filling each one just below the top. Trust me, they will rise a little and look amazing!
Bake and cool to perfection
Now, let’s bake these beauties! Place your muffin pan in a preheated oven (350°F or 180°C) and allow your mini cheesecakes to bake for about 12-15 minutes. You’ll want to see the centers set without jiggling. Once they're done, let them cool in the pan for 30 minutes before transferring to the fridge for a full chill. Cooling is essential for that perfect creamy texture!
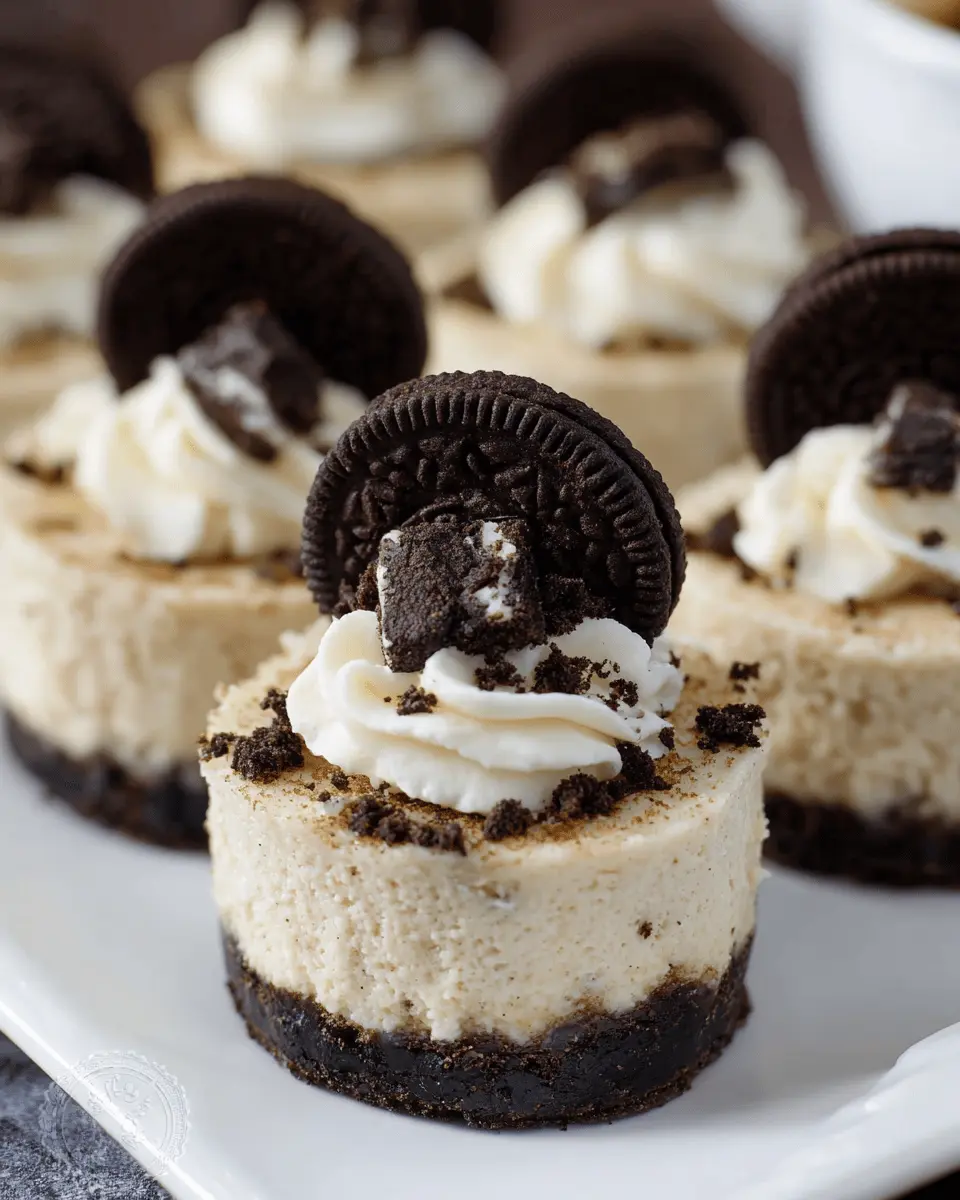
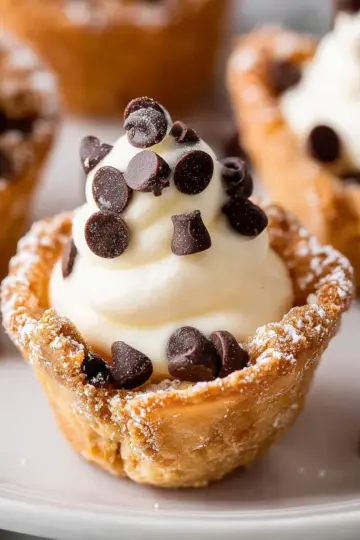
Whip the cream and add the finishing touch
Once your cheesecakes are chilled and set, it’s time for the finishing touch! In a clean bowl, whip together the heavy cream and powdered sugar until you reach those firm peaks. Use a piping bag to dollop some whipped cream on each mini cheesecake and top with a cute mini Oreo. This not only adds a lovely presentation but also enhances that cookie flavor.
Enjoy these mini Oreo cheesecakes at your next gathering, or simply treat yourself! They’re sure to impress everyone—with ingredients you probably already have at home. Need more dessert inspiration? Check out other cheesecake variations on bonappetit.com for even more delicious ideas!
Variations on Mini Oreo Cheesecakes
Peanut Butter Oreo Cheesecakes
If you’re a peanut butter lover, you’ll adore these mini Oreo cheesecakes. Simply blend some creamy peanut butter into your cheesecake filling for that rich, nutty flavor. To take it up a notch, add crushed Oreo cookies directly into the batter for delightful texture. Top with extra whipped cream and a drizzle of peanut butter for that perfect finish!
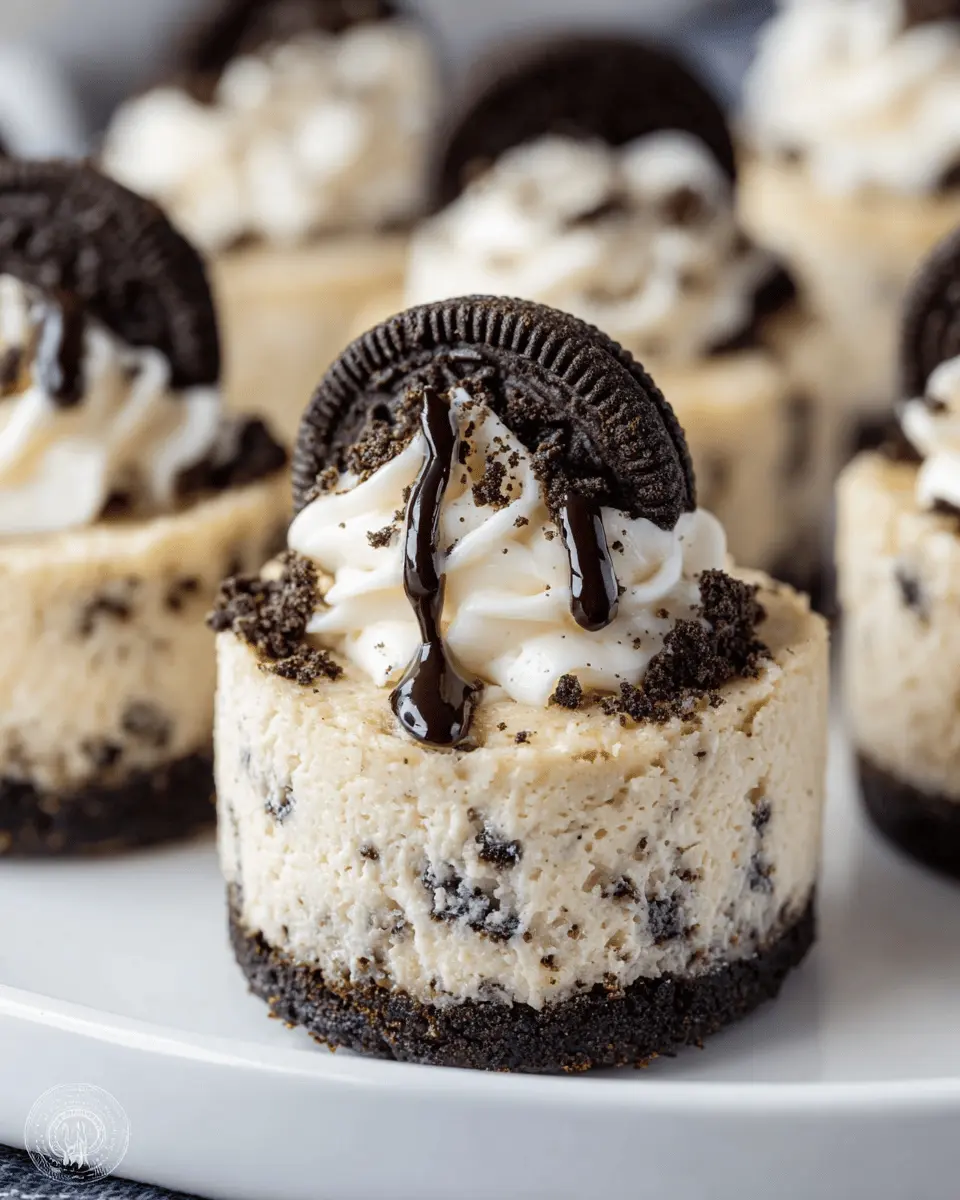
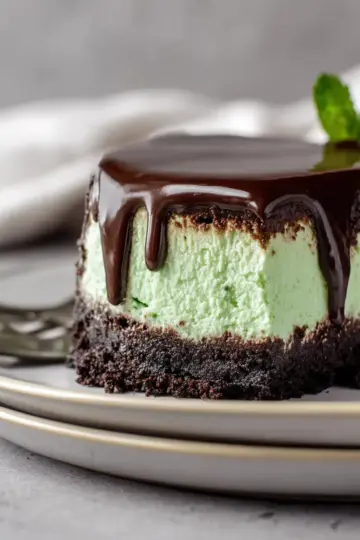
Chocolate Drizzle Mini Cheesecakes
These mini Oreo cheesecakes can also become a decadent chocolate treat. After chilling your cheesecakes, melt some chocolate and drizzle it over the top before adding your mini Oreos. The rich chocolate complements the Oreo crust perfectly, making each bite irresistible. For a gourmet touch, consider using dark chocolate or a flavored drizzle, like white chocolate or caramel!
Want more twist ideas? Don’t hesitate to experiment with flavors!
Baking Notes for Mini Oreo Cheesecakes
Tips for a Smooth, Creamy Filling
To achieve a smooth and creamy filling for your mini Oreo cheesecakes, make sure your cream cheese is fully softened at room temperature before you start mixing. This step is crucial to avoid lumps. Using a stand mixer or a hand mixer helps incorporate air, achieving that luscious texture. For an extra touch, consider adding sour cream to enhance the creaminess!
How to Avoid Cracks in Your Cheesecakes
Cracks can be a concern when baking cheesecakes, but they’re easy to prevent! To maintain moisture and even cooking, bake your mini cheesecakes in a water bath. Just place your muffin pan in a larger dish filled with water. Remember to avoid overmixing your batter after adding eggs, as too much air can lead to cracks as they rise and cool. For more tips on achieving the perfect cheesecake, have a look at this guide.
With these easy baking notes, your mini Oreo cheesecakes will turn out irresistibly creamy and visually stunning! Happy baking!
Serving suggestions for Mini Oreo Cheesecakes
Pairing with fresh berries
Elevate your mini Oreo cheesecakes by serving them with an assortment of fresh berries like strawberries, raspberries, or blueberries. The tartness of the berries complements the rich, creamy cheesecakes perfectly, adding a refreshing twist. You can also create a simple berry sauce by simmering berries with a touch of sugar and lemon juice, drizzling it over your cheesecakes for an eye-catching presentation. Not only do these add vibrant color, but they also offer a healthy balance alongside the decadence of the cheesecakes.
Enjoying with a dollop of whipped cream
A generous dollop of whipped cream is a classic topping that takes your mini Oreo cheesecakes to the next level. Whether homemade or store-bought, whipped cream adds a light, fluffy texture that beautifully contrasts the dense cheesecake. For an extra touch, consider adding vanilla extract or a sprinkle of cocoa powder to your whipped cream. Not only does this enhance the flavor, but it also makes for a fabulous presentation—perfect for impressing guests. Pairing your cheesecakes with whipped cream ensures every bite is creamy goodness!
Time Details for Mini Oreo Cheesecakes
Preparation Time
Getting ready for these delicious Mini Oreo Cheesecakes will take about 15 minutes. This includes the time to gather all your ingredients, crush those Oreos into crumbs, and mix up the filling.
Baking Time
Once you’ve prepared the batter and filled your muffin pan, these mini treats bake for 12-15 minutes. You want them just set in the middle for that perfect creamy texture.
Total Time
If you're planning your dessert crafting, the total time from start to finish is around 2 hours. This includes cooling and chilling, ensuring each mini cheesecake is perfectly delightful when it's time to serve.
For more insights into cheesecake recipes, check out this cheesecake guide. Happy baking!
Nutritional Information for Mini Oreo Cheesecakes
When you're indulging in a delightful Mini Oreo Cheesecake, it's good to know what you're treating your taste buds to. Here's the breakdown of essential nutritional information:
Calories
Each mini cheesecake packs approximately 401 calories, making it a rich treat perfect for special occasions or an occasional dessert fix.
Protein
With 6 grams of protein per serving, these desserts can provide a little sustenance alongside that sweet satisfaction.
Sodium
Keep an eye on your salt intake; these delicious treats contain about 290 mg of sodium, so savor them in moderation!
If you want to learn more about the benefits of homemade desserts and how they can fit into a balanced diet, check out the nutritional guidelines from the USDA. Enjoy your mini cheesecakes with this knowledge in mind!
FAQs about Mini Oreo Cheesecakes
Can I make them ahead of time?
Absolutely! These mini Oreo cheesecakes are perfect for making ahead of time. You can prepare them a day or two in advance and store them in the fridge to let the flavors meld. Just make sure to top with whipped cream and mini Oreos right before serving for that fresh effect.
What’s the best way to store leftovers?
To keep your delicious mini cheesecakes fresh, store any leftovers in an airtight container in the fridge for up to five days. For even longer storage, you can freeze them individually wrapped for up to three months. Just remember to let them thaw in the fridge overnight before digging in!
Can I substitute ingredients if needed?
Of course! If you need to make adjustments, you can substitute ingredients like sour cream with Greek yogurt or use a dairy-free cream cheese alternative. Just note that the texture and taste might vary slightly, but experimenting can lead to exciting new flavors! For more tips on ingredient substitutes, check out this helpful guide.
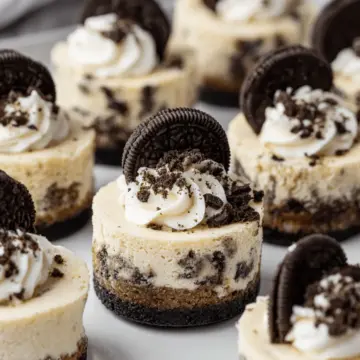
Conclusion on Mini Oreo Cheesecakes
These mini Oreo cheesecakes are a delightful treat thats serve as the perfect dessert for any occasion. Easy to prepare and irresistibly delicious, they're bound to impress your friends and family. So grab your ingredients, make these cheesecakes, and savor every bite! For more sweet inspiration, check out our cool dessert ideas or learn about cheesecake variations.
Mini Oreo Cheesecakes
Equipment
- Muffin pan
- Food Processor
- Stand Mixer
- mixing bowl
- piping bag
Ingredients
Crust
- 12 count regular whole Oreo cookies one 4.8 ounce (135 g) package
- 2 tablespoons unsalted butter melted
Filling
- 16 ounces full fat cream cheese softened to room temperature
- 0.5 cup granulated sugar
- 2 large eggs at room temperature
- 0.25 cup sour cream
- 1 teaspoon vanilla extract
- 0.125 teaspoon salt
- 10 count regular whole Oreo cookies roughly chopped, from a one 4.8 ounce (135 g) package
Topping
- 0.5 cup heavy cream double cream in the UK
- 2 tablespoons powdered sugar
- 12 count mini Oreo cookies
Instructions
Preparation
- Adjust the oven rack to the lower-middle position. Preheat oven to 350°F (180°C) or 160° fan oven, line a muffin pan with paper liners, and set aside.
- Add 12 Oreos to a high speed food processor; blend until only fine crumbs remain. Add the melted butter and pulse until the mixture resembles wet sand.
- Divide the Oreo crumb mixture evenly between the 12 prepared muffin cavities, press down firmly with your fingers or the back of a spoon; set aside.
- In the bowl of a stand mixer, beat the softened cream cheese and granulated sugar until smooth and creamy. Add the eggs, one at a time, blending well after each addition. Scrape the sides of the bowl as necessary to ensure even mixing. Beat in the sour cream, vanilla, and salt.
- Finally, add the chopped Oreos and mix well.
- Divide the cheesecake batter between the 12 muffin cups, being careful to not overflow the paper liners.
- Bake the cheesecakes in the oven for 12-15 minutes, or until the center is set and no longer jiggly. Remove from the oven and allow to cool for 30 minutes before placing into the fridge for 90 minutes to chill completely.
- Place the heavy cream and powdered sugar in the bowl of a stand mixer fitted with the whisk attachment and whip until firm peaks form. Use a piping bag to add a dollop of whipped cream to each of the chilled cheesecakes, then top with a mini Oreo.

Leave a Reply