
Introduction to Homemade Sourdough Bread
Homemade sourdough bread is more than just a loaf; it's a warm hug for your taste buds and a testament to patience and craft. There's something incredibly rewarding about turning simple ingredients into a crusty, golden-brown masterpiece. Whether you’re enjoying a slice slathered with butter or crafting a gourmet sandwich, each bite of homemade sourdough fills your kitchen with nostalgia and comfort. It truly is the ultimate comfort food!
Why is Homemade Sourdough Bread So Comforting?
The beauty of homemade sourdough lies in its deep, complex flavors and artisan appearance. With each loaf, you’re not just feeding your body but also connecting with generations of bakers who have perfected this craft. Plus, this bread is made using a sourdough starter—a fermented mix of flour and water that transforms your dough into a tangy, fluffy delight through natural fermentation.
And let's not forget about the health benefits! Sourdough bread is easier to digest, due to the prebiotic properties developed during fermentation, and it’s often lower in gluten than standard bread. If you’re ready to embark on a baking adventure, let's dive into the step-by-step process of making your own delicious homemade sourdough bread!
Ingredients for Homemade Sourdough Bread
Essential Ingredients for the Dough
To make the most delightful homemade sourdough bread, you'll need only a few essential ingredients. Here’s what to gather:
- Active Sourdough Starter: 50 – 100 g (1⁄4 – ½ cup) of a bubbly, active starter is crucial, as it provides the yeast for fermentation. I typically use 100 grams for an extra boost!
- Warm Water: 375 g (1 ½ cups plus 1 tbsp) is ideal; feel free to adjust based on dough hydration.
- Bread Flour: 500 g (4 cups plus 2 tbsp) is your main structure builder.
- Salt: 9 to 12 g (1.5 – 2.5 teaspoons) enhances flavor—both kosher and fine sea salt work well.
For additional tips on selecting flour and hydration levels, check out resources from King Arthur Flour and others!
The Importance of Active Sourdough Starter
Your sourdough starter is the heart of any sourdough recipe. An active starter means it’s bubbly and ripe, indicating it’s ready to work its magic. Without it, you won’t achieve the lovely rise and tangy flavor we all crave in homemade sourdough bread. If you’re starting your starter journey, I recommend resources like Breadtopia to guide you. Remember, keeping your starter happy requires regular feedings. Check in with it often for consistent results!
Step-by-Step Preparation of Homemade Sourdough Bread
Prepare the sourdough starter
Before diving into our homemade sourdough bread, make sure your sourdough starter is bubbly and active. I’ve had great success with starters like those from King Arthur Flour and Breadtopia. It’s crucial to give your starter a good feed about 6-8 hours before you plan to use it, so it’s at its peak performance!
Combine ingredients to form the dough
In a large bowl, whisk together 375 grams of warm water and 50-100 grams of your active starter. Next, add 500 grams of bread flour and 9-12 grams of fine sea salt. Mix until just combined—don’t worry about it being perfect. Cover it with a damp towel and let the dough rest for 30 minutes.
Stretch and fold technique explained
After the resting period, it’s time for the stretch and fold! Gently grab one corner of the dough and pull it towards the center. Repeat this with each corner, creating a sort of "envelope." You'll want to do this 4-5 times. Let it rest again for another 30 minutes, then repeat. Depending on your schedule, you can perform this stretching technique a total of four times over two hours.
The magic of bulk fermentation
Now comes one of the most magical stages: bulk fermentation. Cover the dough and let it rise at room temperature for about 8-10 hours. Ideally, you're looking for it to increase by 50% in volume. Visual cues are your best friends here!
Shaping the dough for optimal texture
Once bulk fermentation is complete, gently coax the dough onto a floured surface. Shape it into a round by folding the top down to the center multiple times, creating surface tension.
Proofing techniques for the best results
Cover it and let it rest seam side up for another 30 minutes. Prepare a bowl or proofing basket lined with a towel, dusting it lightly with flour (rice flour works wonders!). Shape the dough once more and place it seam side up into your prepared vessel.
Prepping the Dutch oven
While you're proofing the dough, preheat your oven to 550°F (290°C) with your Dutch oven inside. This is crucial for achieving that perfect crust.
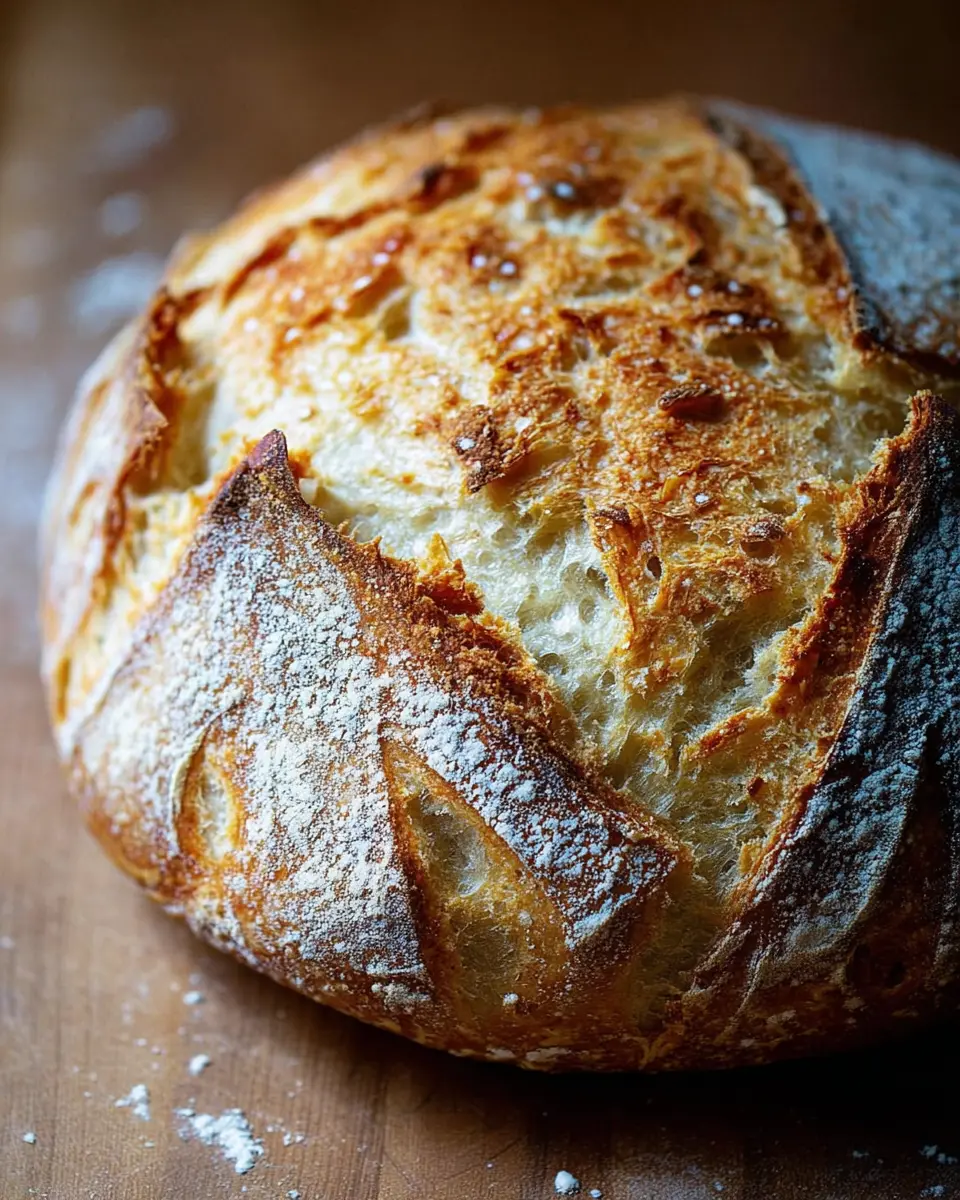
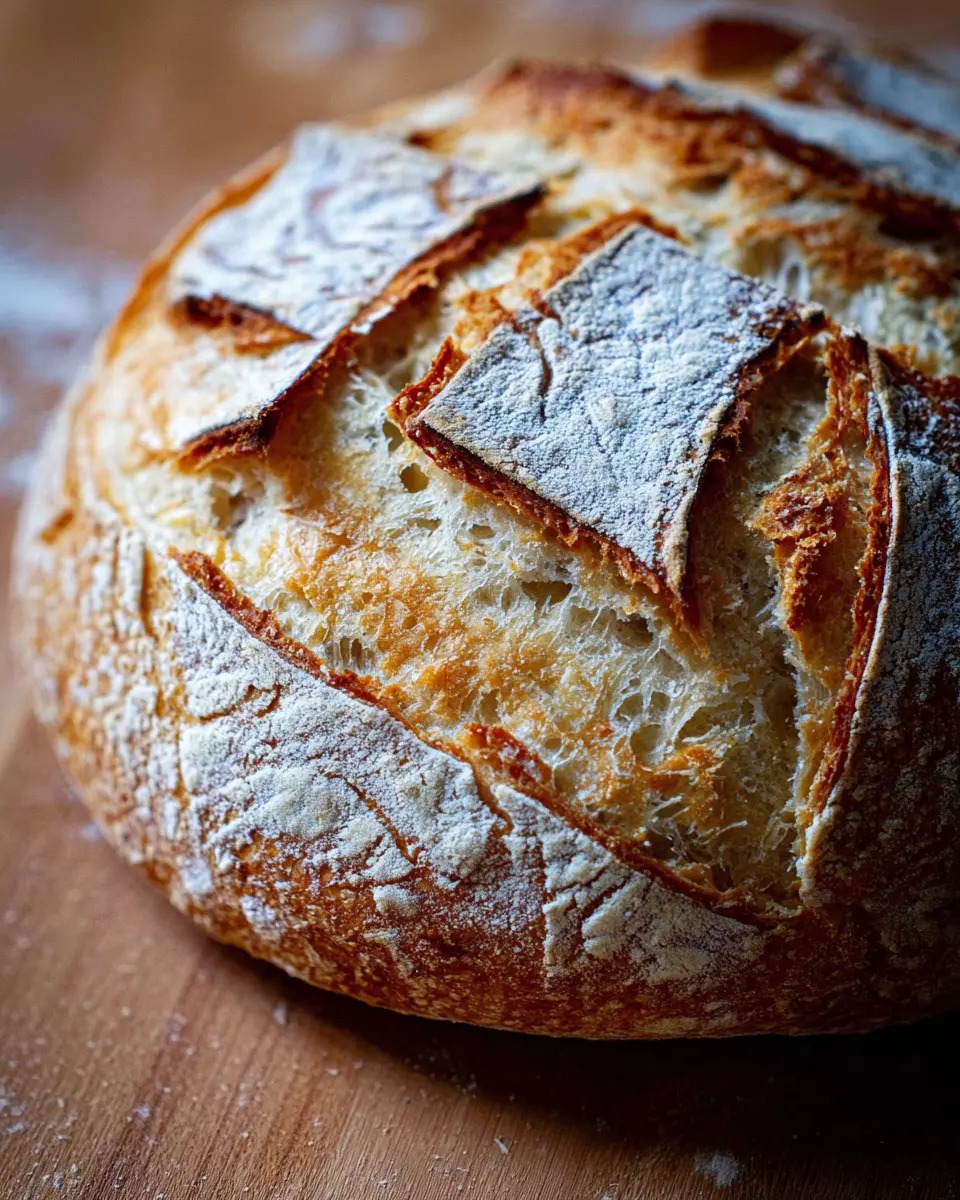
Scoring and baking tips
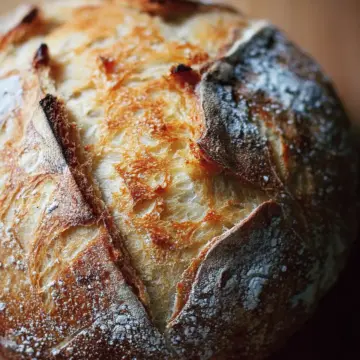
When you're ready to bake, carefully invert the dough onto parchment paper. Score the top with a razor blade or sharp knife—an "X" is classic. This allows steam to escape and gives your bread a beautiful shape while baking. Transfer the dough into your hot Dutch oven and lower the temperature to 450°F (230°C) once it’s covered. Bake for 30 minutes, then remove the lid and continue baking for another 10-15 minutes until golden brown.
Don't forget to cool your loaf for at least an hour on a wire rack before slicing. Enjoy your homemade sourdough bread experience!
Variations on Homemade Sourdough Bread
Adding herbs and spices
Elevate your homemade sourdough bread by incorporating herbs and spices. Think rosemary, thyme, or even a dash of garlic powder for a savory touch. Add these to the dough during the stretches and folds to ensure they’re evenly distributed. The aroma that fills your kitchen will be irresistible!
Incorporating cheese or jalapeños
Why not spice things up with cheese or jalapeños? Adding sharp cheddar or diced jalapeños gives your bread an exciting twist. Mix these in when the dough is ready for its third set of stretches and folds. A touch of cheese will create pockets of melted goodness, while jalapeños pack in flavor!
Experimenting with different flours
For a unique twist, don’t hesitate to experiment with different flours! Whole wheat, rye, or even spelt flour can change the flavor profile and texture of your bread. Just remember that each flour absorbs moisture differently, so you might need to tweak the water ratio.
For more sourdough inspiration, check out King Arthur Baking for tips and recipes!
Cooking Tips and Notes for Homemade Sourdough Bread
Essential tools for baking success
To achieve the best results with your homemade sourdough bread, make sure you have the right tools. Invest in a good digital scale for precise measurements, a sturdy Dutch oven for baking, and high-quality flour sack towels to prevent sticking during proofing. Check out King Arthur Flour for an excellent sourdough starter.
Understanding hydration levels in dough
Hydration can greatly influence your bread's texture. A high-hydration dough (around 76% water in this recipe) yields a crusty exterior and a lovely open crumb. Feel free to adjust and find what works best for you!
Tips for troubleshooting common issues
If you encounter dense bread or no oven spring, check your starter’s activity and fermentation time. It's all about the visual cues—look for a 50% increase in volume during bulk fermentation. If your dough isn’t rising adequately, it may be too cool, or your starter might be sluggish. Don't hesitate to reach out online communities for guidance as well!

Serving Suggestions for Homemade Sourdough Bread
Pairing with Spreads and Toppings
Homemade sourdough bread is a versatile delight that pairs beautifully with a variety of spreads and toppings. Consider slathering on some creamy avocado with a sprinkle of sea salt or a generous layer of hummus topped with fresh veggies. For a savory treat, try turkey bacon or chicken ham with a swipe of mustard. Sweet tooth? Go for a luscious homemade fruit jam or a drizzle of honey.
Using Homemade Sourdough in Recipes
Your homemade sourdough bread can also shine in other recipes. Use it for flavorful croutons in salads or transform it into a delectable bread pudding. For breakfast, consider making French toast with a twist by soaking slices in a rich custard mixture.
Enjoying It Fresh or Toasted
Whether you enjoy your sourdough straight out of the oven or toasted to crispy perfection, the comforting texture and tangy flavor make every bite memorable. Don't be afraid to experiment! Enjoy warm, fresh slices with a pat of butter, or toast it to enhance its nuttiness.
For more inspiration, check out these 15 delicious ways to enjoy bread.
Time Breakdown for Homemade Sourdough Bread
Preparation Time
Prep your ingredients and combine them to make the dough. This takes about 30 minutes, ensuring everything is well-mixed and ready for its magical transformation.
Rising Time
Let your dough work its magic during the rising time. Expect this to last 8 to 10 hours for the first rise, depending on your kitchen temperature and the amount of starter used. The second rise can be shortened to 1 hour or stretched up to 48 hours for more depth of flavor.
Baking Time
For a perfectly baked loaf, plan on 40 to 45 minutes in the oven. This includes 30 minutes with the lid on and about 10 to 15 minutes uncovered, ensuring a delightful crust.
Total Time
When you combine preparation, rising, and baking, you're looking at an overall time commitment of about 9 to 11 hours for flavors that are absolutely worth it. Just think of all the beautiful moments while you're waiting — the aroma alone will be enough to make you smile!
For tips on ingredients and equipment, I recommend checking out King Arthur Flour or Breadtopia. Happy baking!
Nutritional Facts for Homemade Sourdough Bread
When crafting your homemade sourdough bread, understanding its nutritional profile can enhance your appreciation. Here’s a quick overview:
Calories
A single slice typically contains around 80-100 calories, making it a delicious yet mindful choice for any meal.
Carbohydrates
With approximately 15-20 grams of carbohydrates per slice, this bread provides the necessary fuel without overloading on sugars.
Protein
Offering about 3-4 grams of protein in each slice, homemade sourdough bread is a great addition to a balanced diet.
For a deeper dive into sourdough's health benefits and recipes, check out resources like the Whole Grains Council and King Arthur Baking.
FAQ about Homemade Sourdough Bread
How do I know when my sourdough is ready to bake?
Your homemade sourdough bread is ready to bake when it has approximately increased in volume by 50%. Look for a few bubbles forming on the surface, and give the bowl a wiggle; it should jiggle slightly. This is a sign that the dough is light and airy, perfect for that delightful oven spring.
Can I make sourdough bread without a Dutch oven?
Absolutely! While a Dutch oven traps steam to create a crispy crust, you can bake your sourdough on a baking stone or in a non-stick pan. Just add a pan of hot water at the bottom of your oven to generate steam, which helps achieve that beautiful crust.
How should I store my homemade sourdough?
To keep your homemade sourdough bread fresh, store it in an airtight bag or container at room temperature for up to three days. For longer storage, freeze slices in a freezer bag, allowing you to enjoy fresh-tasting bread anytime!
Conclusion on Homemade Sourdough Bread
Making homemade sourdough bread can transform your kitchen into a warm, welcoming space filled with mouthwatering aromas. This step-by-step guide aims to empower you with the skills to create bakery-quality bread at home. Enjoy the process, experiment with flavors, and most importantly, savor the delightful fruits of your labor!
Homemade Sourdough Bread, Step by Step
Equipment
- Dutch Oven
- Digital Scale
- Large bowl
- bench scraper
- Proofing Basket
Ingredients
Sourdough Starter Mixture
- 100 g active sourdough starter Use 50 g if in a warm environment.
- 375 g warm water Adjust according to the notes.
- 500 g bread flour
- 12 g fine sea salt Or 9 to 12 g depending on preference.
Instructions
Dough Preparation
- Whisk the starter and water together in a large bowl.
- Add flour and salt, mix to combine and let rest covered for 30 minutes.
Stretch and Fold
- Perform a series of stretches and folds on the dough, resting for 30 minutes in between.
Bulk Fermentation
- Let the dough rise covered for 8 to 10 hours until it increases by 50%.
Shaping
- Coax the dough onto a lightly floured surface and shape into a round.
Second Rise
- Let the shaped dough rest seam side up for 30 minutes, then proof in the refrigerator for 1 to 48 hours.
Preheat Oven
- Place a Dutch oven in the oven and preheat to 550°F (290°C).
Scoring
- Invert the bowl to release the dough onto parchment and score the top.
Baking
- Bake covered for 30 minutes, then uncovered at 400°F (200°C) for an additional 10-15 minutes.
- Cool on a wire rack for 1 hour before slicing.
Storage
- Store in an airtight bag or container at room temperature for up to 3 days.


Leave a Reply