
Introduction to Sourdough Starter
Making your own sourdough starter isn’t just for seasoned bakers; it’s a rewarding project that every young professional should try. Imagine walking into your kitchen, greeted by the tangy scent of freshly baked bread, all thanks to a home-cultivated starter that's come alive with flavor. Not only does this process deepen your connection to the food you eat, but it also gives you the satisfying ability to control ingredients—goodbye, preservatives!
Sourdough is experiencing a renaissance, and this starter is the key to unlocking the deliciousness. Did you know that a well-maintained sourdough starter can last for years with proper care? According to expert bakers, the culture in your starter can develop unique flavors over time, influenced by your local environment (source: King Arthur Baking).
Furthermore, creating a sourdough starter can be a fantastic stress reliever. It’s a gentle reminder to slow down in your fast-paced life, encouraging you to embrace patience and nurture something from scratch. So, whether you’re looking to impress a date with homemade bread or simply craving the joy of baking, making a sourdough starter is a perfect way to dive into the world of artisanal bread. Ready to start? Let’s jump into the recipe!
Ingredients for Sourdough Starter
Creating a vibrant sourdough starter is simpler than you might think! With just a few essential ingredients, you’ll be on your way to delicious homemade bread. Here’s what you need to get started:
Essential ingredients for creating a robust sourdough starter
-
Flours: Using a mix of organic all-purpose flour and organic whole wheat flour is key. The all-purpose flour helps provide structure, while whole wheat flour contributes vital nutrients that encourage yeast and bacteria growth.
-
6 cups (720 g) organic all-purpose flour
-
3 cups (360 g) organic whole wheat flour
-
Water: Room temperature water is perfect for activating the flour's natural yeasts. Some bakers prefer using filtered water to avoid chemicals that might inhibit fermentation. Aim for about ½ cup when you first feed your starter.
Starting your sourdough journey with these ingredients sets a solid foundation. If you’d like to dive deeper into maintaining your starter or troubleshooting common issues, take a look at this insightful guide on sourdough starter care. Happy baking!
Preparing Your Sourdough Starter
Creating your own sourdough starter may seem like a daunting task, but with a little patience and commitment, you’ll be rewarded with a bubbly, lively mixture ready to make delicious bread. Let’s walk through the process together!
Assemble Your Ingredients
To kick off this journey, gather your ingredients. You’ll need:
- 6 cups (720 g) organic all-purpose flour
- 3 cups (360 g) organic whole wheat flour
- Water
Mix the flours together and store them in an airtight container. This flour blend will become the food for your starter, helping to cultivate the wild yeast and beneficial bacteria.
Day 1 - Mixing Flour and Water
On Day 1, grab a clean jar and add:
- 1 cup of mixed flour (approximately 120 g)
- ½ cup of water (approximately 120 g)
Stir well until there are no dry bits left. Cover the jar loosely with a lid or a breathable cloth secured with a rubber band, allowing it to breathe. Place your mixture in a warm spot—ideally around 75°F (24°C)—and let it sit for 24 hours.
Day 2 - Stir the Mixture and Cover
Congratulations on reaching Day 2! It’s now time to give your sourdough starter a gentle stir. This helps incorporate air, which is essential for the yeast’s development. Once stirred, remember to cover it again and allow it to rest in that warm spot for another 24 hours.
Days 3-7 - Daily Feeding Routine
From Day 3 onward, you’ll embark on a daily feeding routine:
- Discard all but 2 tablespoons of starter.
- Feed it with ½ cup of fresh flour and ¼ cup of water (around 60 g each).
Mix well to combine everything thoroughly. This daily ritual not only helps build the strength of your sourdough starter, but it also encourages those lovely bubbles. Continue this for 7-10 days, or until it begins doubling in size within 4 to 12 hours post-feeding.
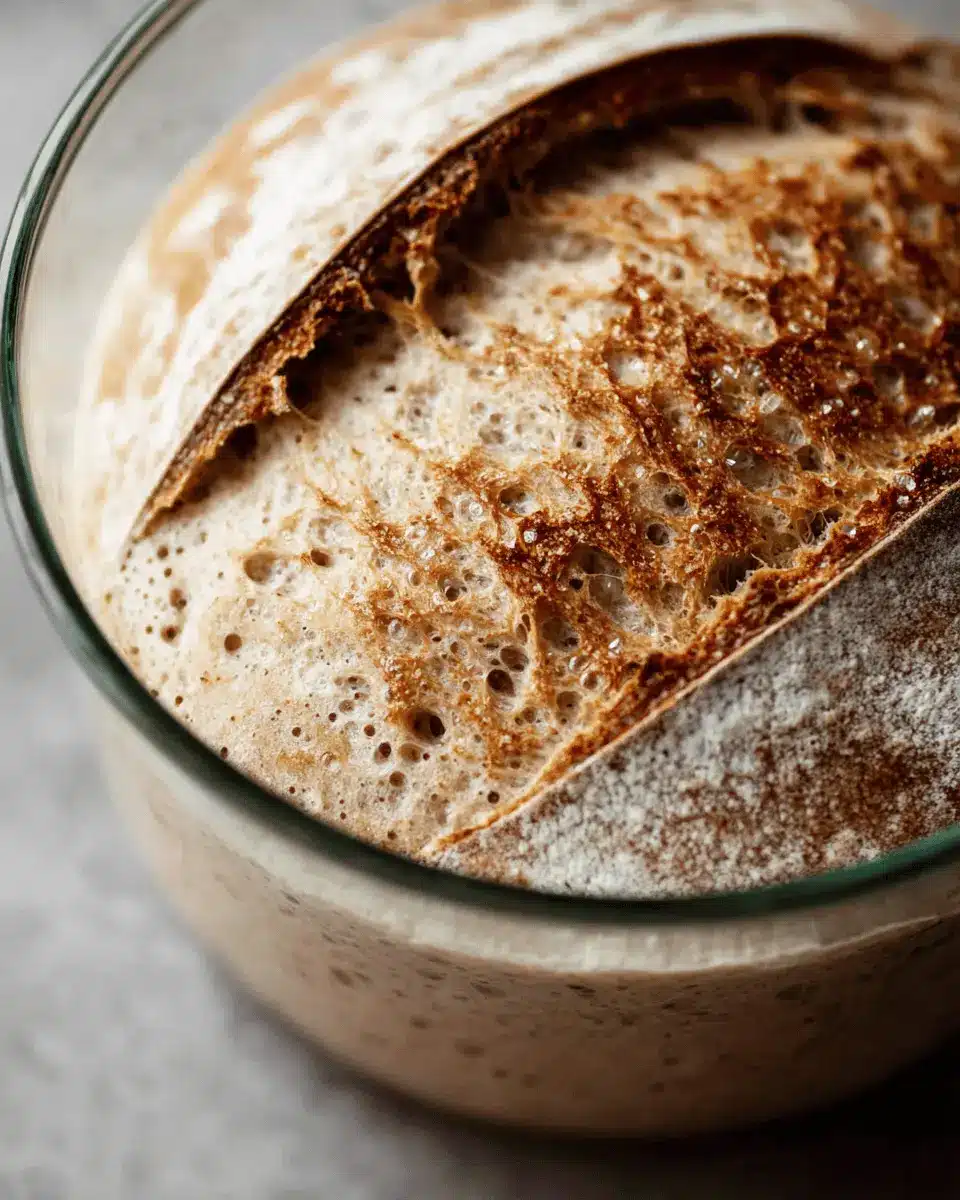
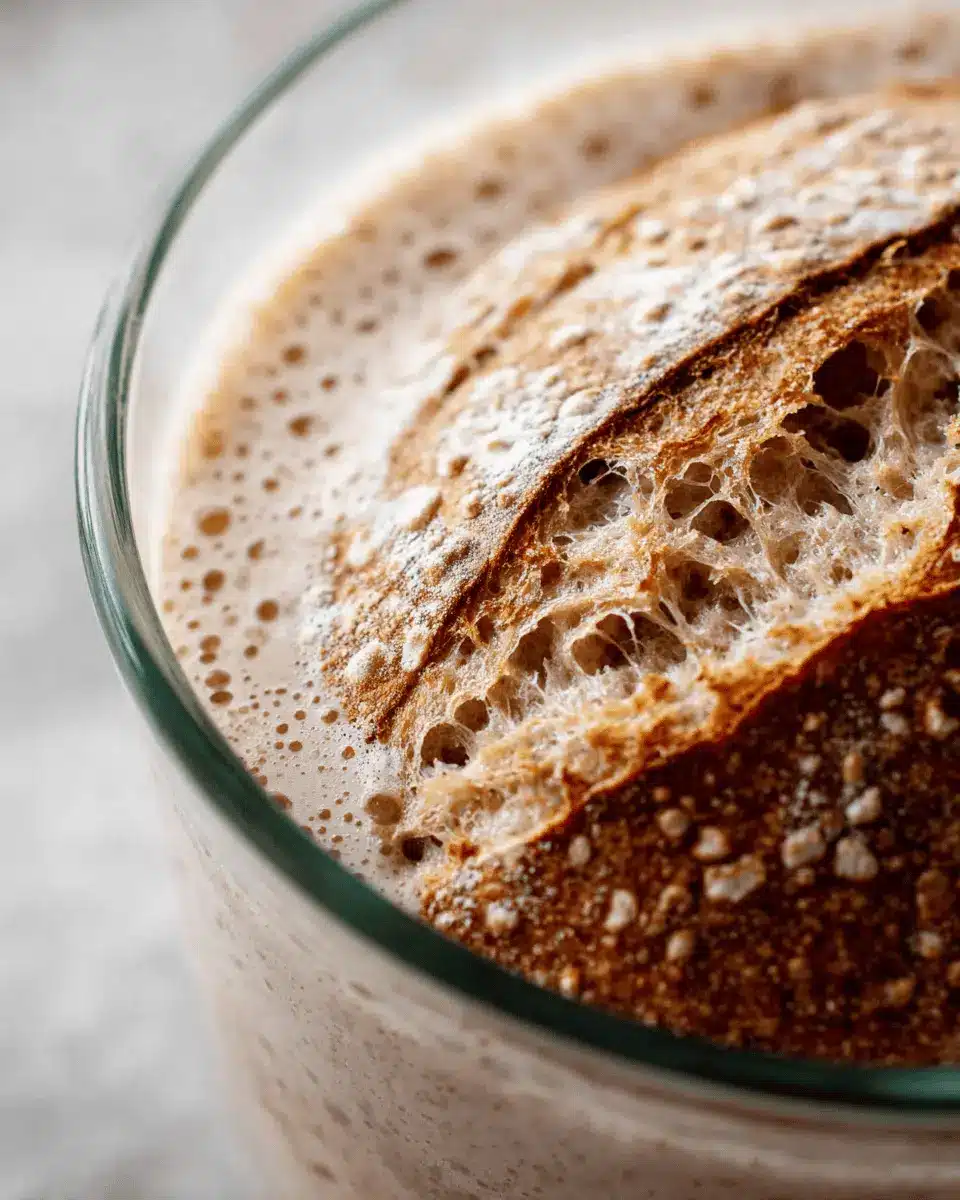
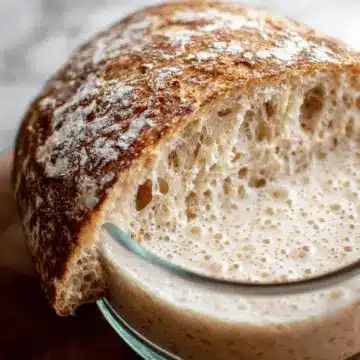
Monitoring the Starter’s Progress
As you care for your sourdough starter, keep a close eye on its development. It should become more vigorous, with a pleasant fruity aroma. If your starter appears sluggish after a few days, try adding 2 tablespoons of flour and 2 teaspoons of water around 12 hours after feeding. This little boost can help encourage growth.
It's worth noting that continuing to feed your starter daily in the first two weeks strengthens it significantly, setting you up for baking success down the line. If you’re looking for more tips, check out my in-depth article on maintaining a sourdough starter, where you’ll find essential insights and advice to keep your starter bubbly and healthy.
Happy baking! Your homemade sourdough starter is just around the corner!

Variations on Sourdough Starter
Whole Wheat Variation
For those looking to add more nutritional value to your sourdough starter, consider using whole wheat flour. Simply replace a portion or all of the all-purpose flour with organic whole wheat flour. This variation not only contributes to a richer flavor and deeper color but also packs in extra fiber. The fermentation process tends to be slightly slower, but you'll end up with a starter that's robust and full of character.
Gluten-Free Alternative
If you're gluten-sensitive or following a gluten-free diet, don’t fret! You can create a gluten-free sourdough starter using flours like brown rice flour, almond flour, or a gluten-free baking blend. Mix equal parts flour and water, and feed it daily, just like you would with a traditional starter. Check out resources like the Gluten-Free Sourdough Starter Recipe for detailed instructions. A gluten-free sourdough will be a little different in texture, but trust us, it can be just as delicious!
Cooking Tips for Sourdough Starter
How to Troubleshoot a Sluggish Starter
Experiencing a sluggish sourdough starter can be frustrating, but don’t worry! Here are some tips to get things bubbling again:
- Temperature Check: Ensure your starter is in a warm spot (around 75°F or 24°C). If the environment is too cool, the fermentation might slow down.
- Adjust Feedings: If it's not rising, try increasing your feedings. On day 4 and beyond, mix in 2 tablespoons of flour and 2 teaspoons of water about 12 hours after your usual feeding. This extra nourishment can give your starter the boost it needs.
- Use Fresh Ingredients: Make sure your flour and water are fresh and of high quality. An organic flour can make a difference!
For more tips on maintaining a healthy starter, check out this detailed guide on caring for your sourdough starter. Keeping it active is key to delicious baking!
Serving Suggestions for Sourdough Starter
Creating your own sourdough starter is just the beginning of your baking journey! Once it’s bubbly and active, the possibilities are deliciously endless. Here are some fantastic recipes to utilize your starter:
- Sourdough Bread: The classic use, achieving that perfect crust and airy interior.
- Pancakes: Light and fluffy, sourdough pancakes add a delightful tang and make breakfast special.
- Waffles: Crisp on the outside, soft inside—perfect topped with fresh fruit or maple syrup.
- Pizza Crust: Give your homemade pizza an incredible flavor boost with a sourdough base.
- Muffins: Incorporate your starter for moist, flavorful muffins that people will rave about.
For more inspiration, check out Serious Eats for creative ways to enjoy your sourdough starter!
Time Breakdown for Sourdough Starter
Preparation time
Getting your sourdough starter ready is quick, taking just about 15 minutes to mix your flours and water on Day 1. This laid-back initial stage sets you up for success.
Fermentation time
The fermentation process spans over 7 to 10 days. During this period, you’ll see your starter transform, gaining bubbles and doubling in size once it finally takes off.
Total time
From Day 1 to a fully active sourdough starter, expect to invest around 10 days. It’s a journey worth taking, bringing you closer to delightful homemade bread!
For more details on managing your starter, check out this comprehensive guide on maintaining a sourdough starter.
Nutritional Facts for Sourdough Starter
When diving into the world of homemade sourdough, understanding the nutritional profile of your sourdough starter can enhance your baking experience. Here’s a quick breakdown:
-
Calories: A 100-gram serving of sourdough starter contains approximately 250 calories, depending on the flour used.
-
Carbohydrates: Expect around 50 grams of carbohydrates in that same serving; this is essential for feeding the yeast and developing delicious flavors.
-
Fiber Content: With about 2 grams of fiber, a sourdough starter helps contribute to your daily intake, promoting digestive health.
For a deeper dive into the nutritional benefits of sourdough, you can check out reputable sources like Healthline and NutritionData to expand your knowledge. Happy baking!
FAQs about Sourdough Starter
What if my sourdough starter doesn't bubble?
If your sourdough starter isn’t bubbling, don’t worry! This can happen if it's not warm enough or if the yeast isn’t active yet. Make sure it's in a warm spot, ideally around 75°F (24°C). If it still seems inactive after a few days, consider feeding it more frequently or boosting it with a couple of tablespoons of flour and water as mentioned earlier.
How long can I keep my sourdough starter?
You can keep your sourdough starter indefinitely as long as you feed it regularly. If you plan not to use it for a while, consider refrigerating it. Just remember to feed it once a week to keep the yeast alive and kicking!
Can I use my sourdough starter right away?
It’s best to wait until your sourdough starter is actively bubbling and doubling in size after feedings—usually around 7 to 10 days. Using it too early may result in less reliable results in your baking. Once it's ready, you'll be delighted at the flavor it brings to your bread! For more detailed tips on nurturing your starter, check out this guide on maintaining sourdough starter.
Conclusion on Sourdough Starter
Creating your own sourdough starter is not only a rewarding experience but also the foundation for baking delicious, homemade bread. With patience and care, you’ll cultivate a lively starter that enriches your cooking. For more tips on maintaining this yeast culture, check out my detailed guide on sourdough upkeep. Happy baking!
Sourdough Starter
Equipment
- jar
- mixing bowl
- rubber band
- breathable cloth
Ingredients
Flour Mix
- 6 cups organic all-purpose flour
- 3 cups organic whole wheat flour
Starter Ingredients
- 1 cup fresh flour for Day 1 feeding
- ½ cup water for Day 1 feeding
- ½ cup fresh flour for subsequent feedings
- ¼ cup water for subsequent feedings
Instructions
Preparation
- Mix 6 cups of all-purpose flour with 3 cups of whole wheat flour and store it in an air-tight container. This is what you will feed your starter with.
- DAY 1: Add 1 cup of flour and ½ cup of water to a clean jar. Stir the mixture thoroughly and cover the jar with a lid or breathable cloth, secured with a rubber band. Place the container in a warm location, around between 75°F (24°C) for 24 hours.
- DAY 2: Give the starter a stir to help incorporate a little air. Cover the jar and let it rest for another 24 hours in a warm spot.
- DAYS 3-7: Every 24 hours, discard all but 2 tablespoons of the starter and feed it with ½ cup fresh flour and ¼ cup water. Mix thoroughly until well combined. Repeat this daily feeding routine, discarding and feeding, for about 7 to 10 days or until your starter becomes active, bubbly, and doubles in size within 4-12 hours of feeding.
- If your starter seems sluggish after the 4th day, begin stirring in 2 tablespoons of flour along with 2 teaspoons of water into the starter, 12 hours after you fed it.
- Continue to feed your starter daily for the first two weeks after you've gotten it established in order to keep building up the yeast and bacteria.


Leave a Reply