
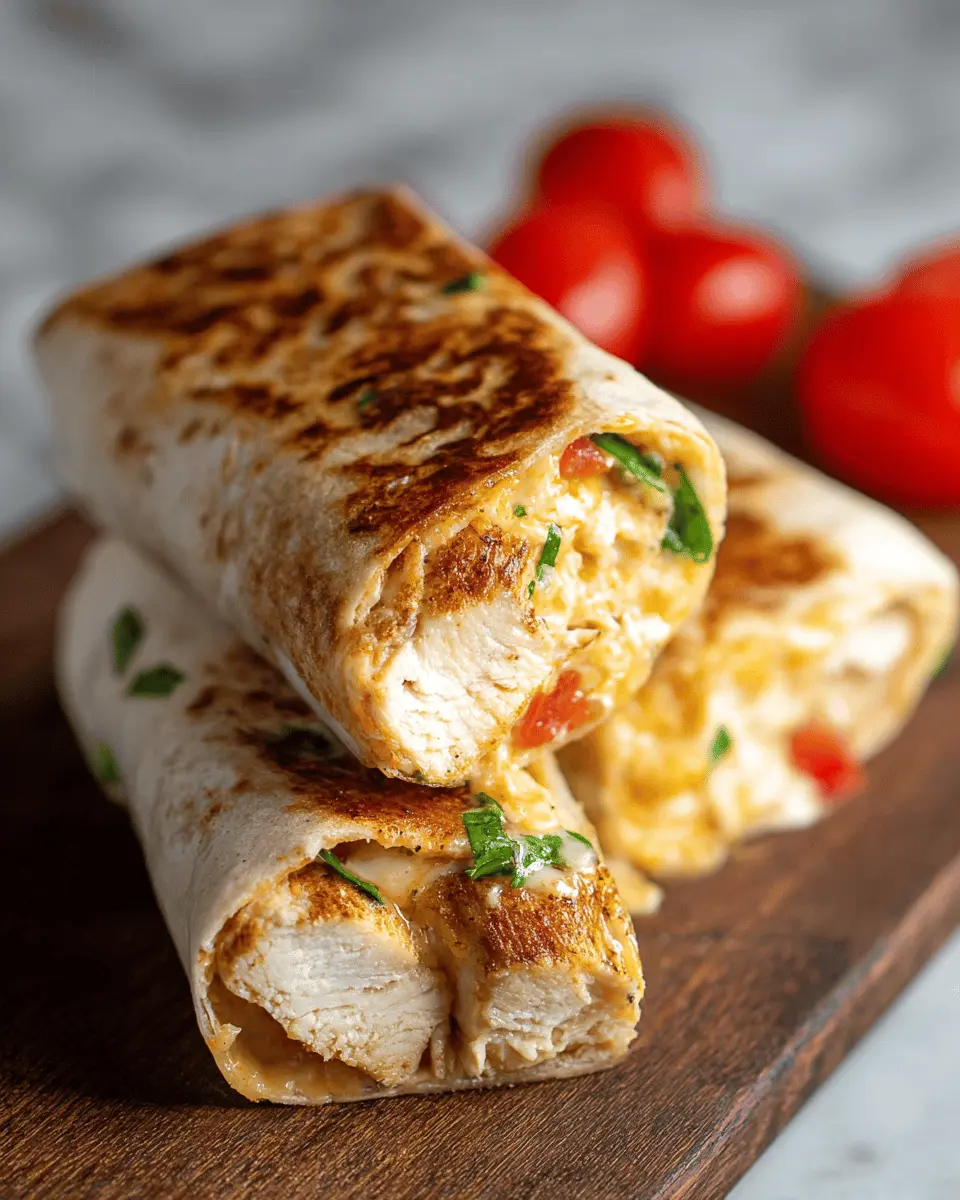
Introduction to Cheesy Garlic Chicken Wraps
If you’re on the hunt for a quick meal that packs flavor and satisfaction, look no further than Cheesy Garlic Chicken Wraps! These wraps are not just a delightful combination of tender chicken, creamy sauces, and ooey-gooey cheese—they're a culinary miracle that can transform your mealtime routine.
Imagine coming home after a long day, and within minutes, you have a warm, crispy wrap ready to devour. What makes these wraps a game-changer? For starters, they’re incredibly versatile! Whether you’re feeding a crowd or simply are in need of a solo meal, these wraps can be adapted to fit any dietary preference. Use rotisserie chicken for convenience or customize the fillings with your favorite veggies to kick it up a notch. For those exploring different flavors, consider adding elements like spinach or bell peppers that not only boost nutrition but add a vibrant crunch.
Plus, adapting this recipe is a breeze! Check out my tips on using leftovers creatively; they shine in quesadillas or stuffed potatoes. Overall, Cheesy Garlic Chicken Wraps are destined to become a staple in your kitchen—quick, delicious, and downright satisfying!
Ingredients for Cheesy Garlic Chicken Wraps
Creating your own Cheesy Garlic Chicken Wraps is not just easy; it's also super customizable! Here’s a breakdown of the essential ingredients you’ll need, plus some tasty additions to fit your personal palate.
Essential Ingredients List
- Tortillas: 2 large, either regular or low-carb/high-protein, form the base of your wrap.
- Cooked Chicken: About 7 oz (200 grams), chopped—using rotisserie chicken can save you time.
- Garlic: 2 cloves, minced or grated for that robust flavor.
- Light Mayonnaise: 2 tablespoons adds creaminess without too much guilt.
- Greek Yogurt: 1 tablespoon enriches the filling and boosts protein.
- Hot Sauce: 2 teaspoons like Frank’s for a nice kick.
- Salt: ¼ teaspoon helps enhance all the flavors.
- Grated Cheese: 3 oz (90 grams), a cheddar blend works beautifully.
- Green Onion: Chopped for freshness and a bit of crunch.
- Olive Oil Spray: For pan-frying to crispy perfection.
Optional Ingredients for Customization
Feel free to make these wraps your own! Consider adding:
- Additional Veggies: Spinach, bell peppers, or tomatoes can amp up the nutrition.
- Spices: Try a pinch of paprika or cumin for a flavor twist.
- Variety of Cheeses: Experiment with mozzarella or pepper jack for different melting qualities.
- Turkey Bacon or Chicken Ham: For added protein and flavor, chop up a few slices and include them.
These Cheesy Garlic Chicken Wraps are as versatile as they are delicious. Whether you stick to the basics or get creative, you're in for a treat! Check out this article for more tips on cooking with chicken.
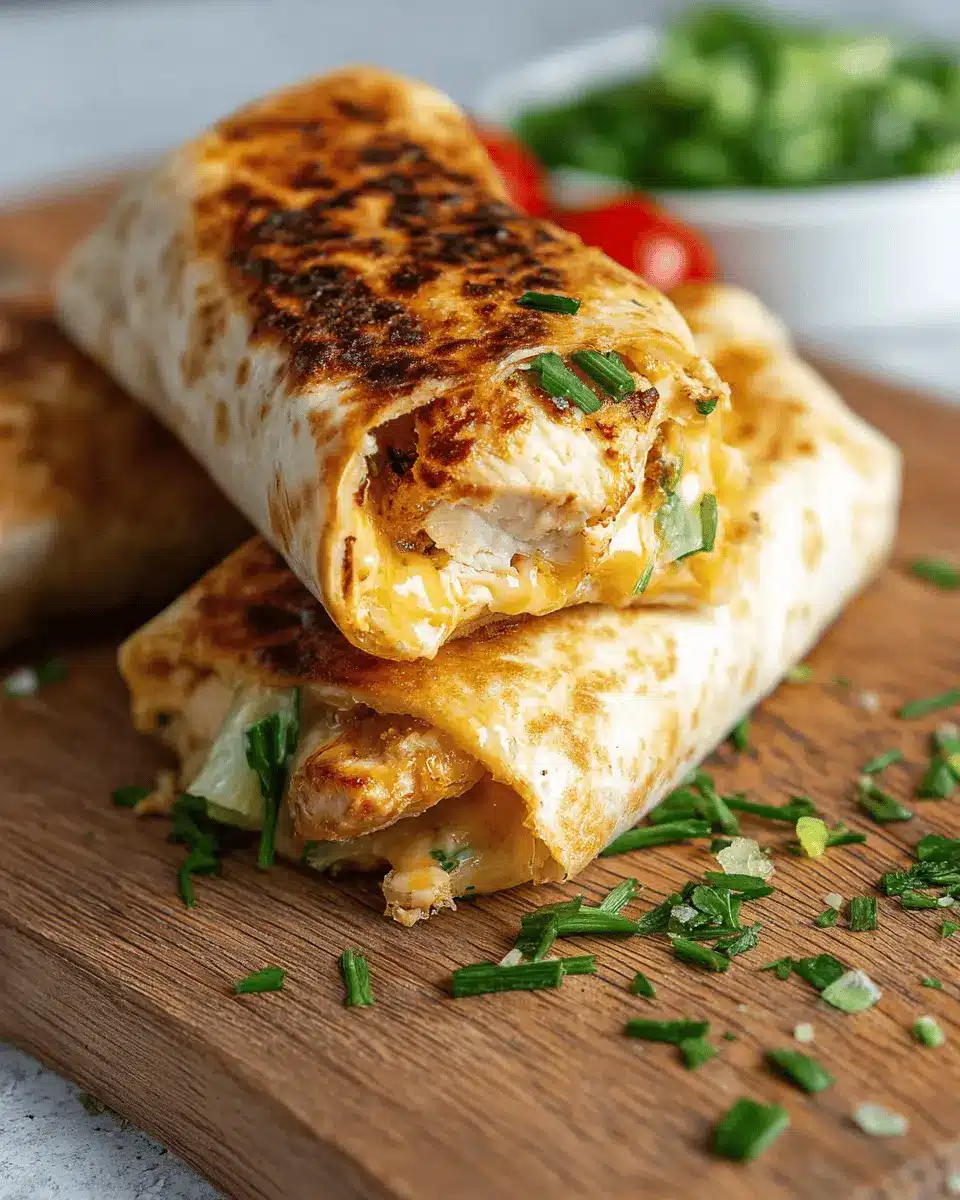
Preparing Cheesy Garlic Chicken Wraps
Making Cheesy Garlic Chicken Wraps is a delicious way to elevate your weeknight dinners or meal prep. These wraps are a crowd-pleaser, packed with flavor and oozing with cheese! Let’s dive into the step-by-step process that will have your taste buds dancing.
Gather your ingredients
Before you start cooking, ensure you have everything you need at your fingertips. Here’s what you’ll require:
- 2 large tortillas (choose either regular or low-carb/high-protein)
- 7 oz cooked chicken (about 200 grams, chopped, rotisserie is great!)
- 2 garlic cloves (minced or grated; adjust according to your taste)
- 2 tablespoons light mayonnaise
- 1 tablespoon light Greek yogurt or plain yogurt
- 2 teaspoons hot sauce (like Frank’s for a kick)
- ¼ teaspoon salt
- 3 oz grated cheese (about 90 grams; a cheddar blend works wonders)
- 1 green onion (chopped for that fresh crunch)
- Olive oil spray
Having your ingredients ready makes the whole process smoother and more enjoyable. Plus, it’ll help you avoid that last-minute dash to the fridge!
Mix the chicken filling
In a medium bowl, combine your chopped chicken, minced garlic, light mayonnaise, Greek yogurt, hot sauce, and salt. Use a fork or spoon to mix everything until it’s well incorporated. This mixture is the heart of your Cheesy Garlic Chicken Wraps, so be generous with the seasoning! If you want to explore more garlic recipes, check out resources like Garlic Recipes from Bon Appétit.
Assemble the wraps
Time to put your wraps together! Lay out a tortilla on a clean surface. Start by sprinkling about 2 tablespoons of cheese on the lower third of the tortilla. Next, add approximately ⅔ cup of your chicken mixture on top of the cheese, followed by another tablespoon of cheese and a sprinkle of green onion. The cheese layers are crucial for that melty goodness!
Fold the sides of the tortilla inwards and roll it tightly from the bottom. Think of it like tucking in a burrito — you want it snug but not bursting at the seams.
Cook to perfection
Preheat a non-stick pan over medium-high heat and spray it lightly with olive oil. Once it’s hot, place the wraps seam-side down in the pan. Cook for about 3–4 minutes on each side until they reach a delicious golden brown and crispy texture. This step is essential for ensuring that the inside gets warm and the cheese melts perfectly. Covering the pan with a lid will help with this process.
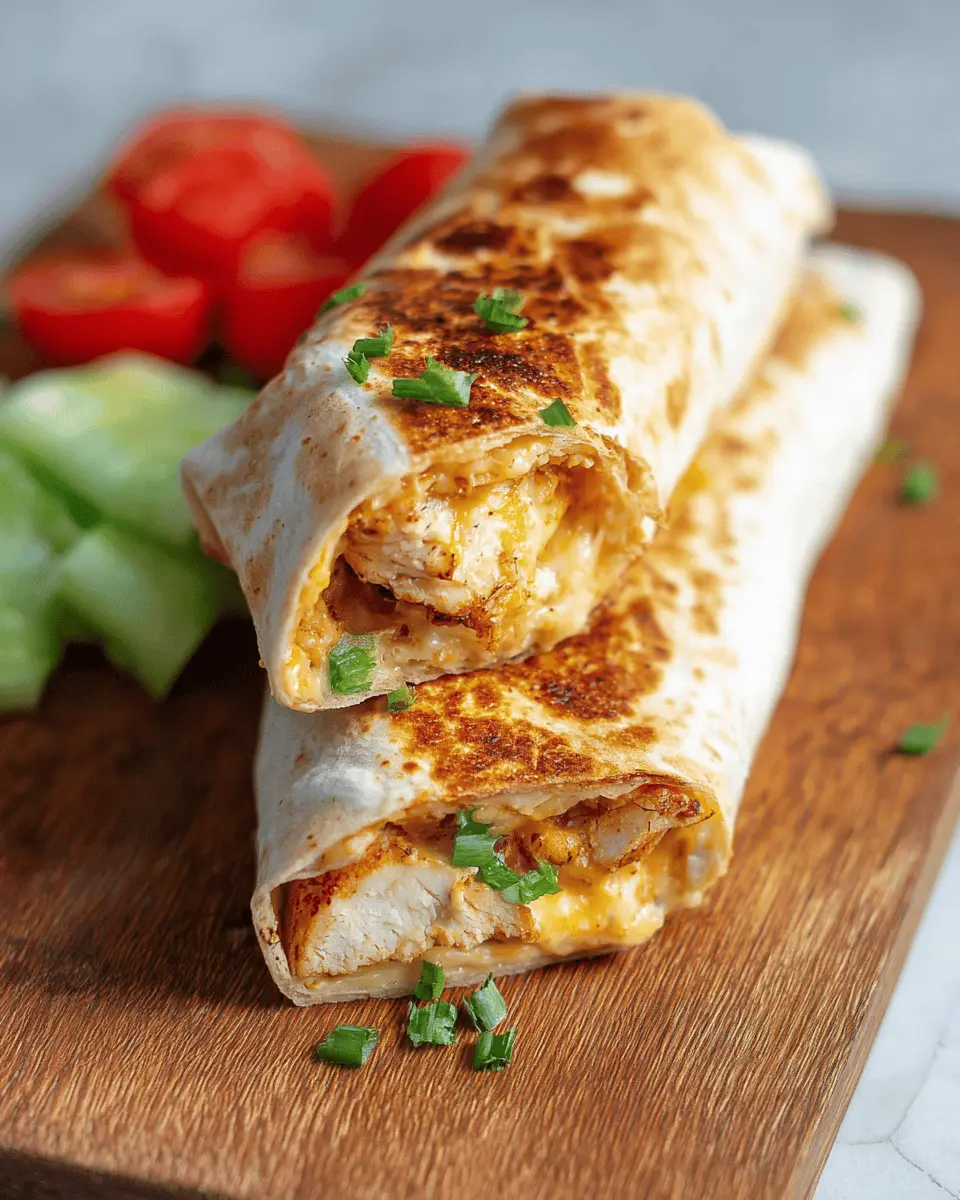
Slice and serve
Once your Cheesy Garlic Chicken Wraps are golden brown, take them out of the pan and let them rest for a minute. Slice them in half and serve! Pair with a refreshing salad, roasted veggies, or even some spicy salsa for dipping. Your guests (or just you!) will appreciate the effort and the flavor explosion that awaits.
Remember, these wraps are not just satisfying; they’re also versatile. You can prep the filling in advance for a speedy meal during the week. Enjoy!
Variations on Cheesy Garlic Chicken Wraps
When it comes to Cheesy Garlic Chicken Wraps, the possibilities are endless! Here are a couple of delicious variations to keep things exciting.
Spicy Variations with Jalapeños
If you're a fan of heat, why not add some sliced jalapeños to your wraps? You can mix them into the chicken filling for an extra kick or layer them right on top of the cheese before rolling. This will give your wraps a zesty, bold flavor that pairs perfectly with garlic!
Vegetarian Option Using Grilled Veggies
For those looking for a meat-free alternative, swap the chicken for an assortment of grilled vegetables. Bell peppers, zucchini, and mushrooms work beautifully when seasoned with garlic and olive oil. This veggie-packed version keeps the flavor and heartiness you love from the original wraps while being completely plant-based!
Experimenting with these variations will surely keep your taste buds dancing. Enjoy crafting your perfect wrap!
Cooking tips and notes for Cheesy Garlic Chicken Wraps
Smart storage tips for leftover wraps
If you have any leftover Cheesy Garlic Chicken Wraps, store them in the fridge for up to two days. For the best results when reheating, pop them in a skillet or air fryer to revive that delightful crispiness. Freezing the wraps is not recommended, but the filling can be frozen for up to a month – which comes in handy for quick meals!
Meal prep advice for busy weeks
To simplify your weeknight dinners, prep the chicken filling 2-3 days ahead and keep it in the fridge. This allows you to easily assemble and cook your wraps when hunger strikes. Plus, you can sneak the leftover filling into things like quesadillas or baked potatoes for even more delicious options! For further meal prep inspiration, you might find this guide on quick weeknight meals helpful.
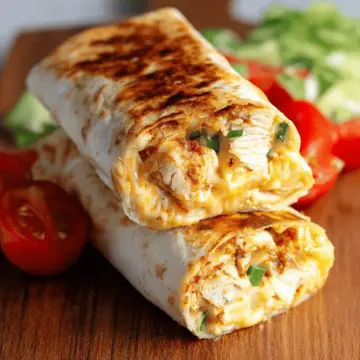
Serving suggestions for Cheesy Garlic Chicken Wraps
Pairing with Fresh Salads
These Cheesy Garlic Chicken Wraps shine when paired with a vibrant, fresh salad. Think mixed greens topped with cherry tomatoes, cucumbers, and a light vinaigrette to bring a crunch and zest that complements the rich flavors of the wraps. A simple arugula or spinach salad also works wonderfully. For a twist, try adding citrus segments or a handful of nuts for added texture. Want something heartier? Quinoa or chickpea salads make delightful accompaniments, boosting protein and fiber.
Suggested Dips and Sides
To elevate your meal, consider serving these wraps with your favorite dips. A tangy salsa or creamy ranch dressing pairs perfectly with the Cheesy Garlic Chicken Wraps. If you’re craving something a bit more indulgent, a garlic or herb-flavored dip can enhance the wrap's flavors beautifully. Crispy tortilla chips or baked sweet potato fries also make fantastic sides, rounding off your meal for a delightful experience. Don’t forget, pickles add a lovely tang that cuts through the richness of the cheese!
Time Details for Cheesy Garlic Chicken Wraps
Preparation Time
Getting ready to make your Cheesy Garlic Chicken Wraps only takes about 15 minutes. It’s a quick assembly of ingredients that you’ll love!
Cooking Time
Once you're prepped, cooking these wraps will run you about 8 minutes. You'll get a nice crispy finish that enhances the flavors.
Total Time
In just 23 minutes, you’ll have delicious, homemade wraps ready to serve. Perfect for a lunch break or busy weeknight dinners!
For more tips on timing and meal prepping, you can check resources like thekitchn.com for inspiration. Happy cooking!
Nutritional Information for Cheesy Garlic Chicken Wraps
Calories
One serving of Cheesy Garlic Chicken Wraps contains approximately 476 calories. This makes it a hearty option for lunch or dinner, striking a balance between indulgence and nutrition.
Protein
Boost your energy with 38 grams of protein per wrap! This is perfect for those looking to stay satisfied and energized throughout the day, especially if you're balancing a busy lifestyle.
Sodium
Keep in mind, these wraps do carry a bit of sodium at around 1090 mg per serving. If you're watching your sodium intake, consider using less salt or opting for low-sodium alternatives in the recipe.
For more insights into dietary needs and managing sodium intake, you can check out guidelines from the American Heart Association.
With these wraps, you can enjoy a savory, cheesy meal while keeping an eye on your nutritional intake!
FAQs about Cheesy Garlic Chicken Wraps
Can I use a different type of cheese?
Absolutely! While this recipe features a delicious cheddar blend, feel free to swap it for mozzarella, pepper jack, or even a dairy-free option if you're looking for alternatives. The key is to choose a cheese that melts well—this will ensure that your Cheesy Garlic Chicken Wraps are perfectly gooey!
Is there a way to make these wraps healthier?
Certainly! To lighten up your Cheesy Garlic Chicken Wraps, consider using whole grain or low-carb wraps and reducing the cheese by half. Adding extra veggies, like bell peppers or spinach, boosts the nutrition without sacrificing flavor. You could also replace high-calorie sauces with mustard or salsa!
How do I store and reheat the wraps?
Store any leftovers in an airtight container in the fridge for up to 2 days. To reheat, place them in a skillet over medium heat or use an air fryer for that original crispiness. If you have leftover filling, it can be frozen for up to a month for future meals. Enjoy!
Conclusion on Cheesy Garlic Chicken Wraps
These Cheesy Garlic Chicken Wraps are a delightful combination of flavors and textures, making them the perfect meal for any occasion. Quick to prepare and customizable, they're a crowd-pleaser that won’t disappoint. Whether you enjoy them solo or with a side salad, they're sure to impress. Happy wrapping!
Cheesy Garlic Chicken Wraps
Equipment
- Non-stick pan
- bowl
Ingredients
Wrap Ingredients
- 2 large tortillas regular or low-carb/high-protein
- 7 oz cooked chicken about 200 grams, chopped (rotisserie is great)
- 2 cloves garlic minced or grated (adjust to taste)
- 2 tablespoons light mayonnaise
- 1 tablespoon light Greek yogurt or plain yogurt
- 2 teaspoons hot sauce like Frank’s
- ¼ teaspoon salt
- 3 oz grated cheese about 90 grams (I used a cheddar blend)
- 1 green onion chopped
- Olive oil spray
Instructions
Preparation Steps
- In a bowl, mix chopped chicken, garlic, mayonnaise, yogurt, hot sauce, and salt.
- Lay out your wrap. On the lower third of the tortilla, sprinkle about 2 tablespoons of cheese, then top with about ⅔ cup of the chicken mixture. Add another tablespoon of cheese and a sprinkle of green onion.
- Fold in the sides of the tortilla, then roll it up tightly from the bottom.
- Heat a non-stick pan over medium-high. Spray with olive oil.
- Place wraps seam-side down. Cook for 3–4 minutes per side until crispy and golden. Cover with a lid to help heat the inside.
- Slice in half and serve!
Leave a Reply