
Introduction to Crumb-Topped Cherry Pie Bars
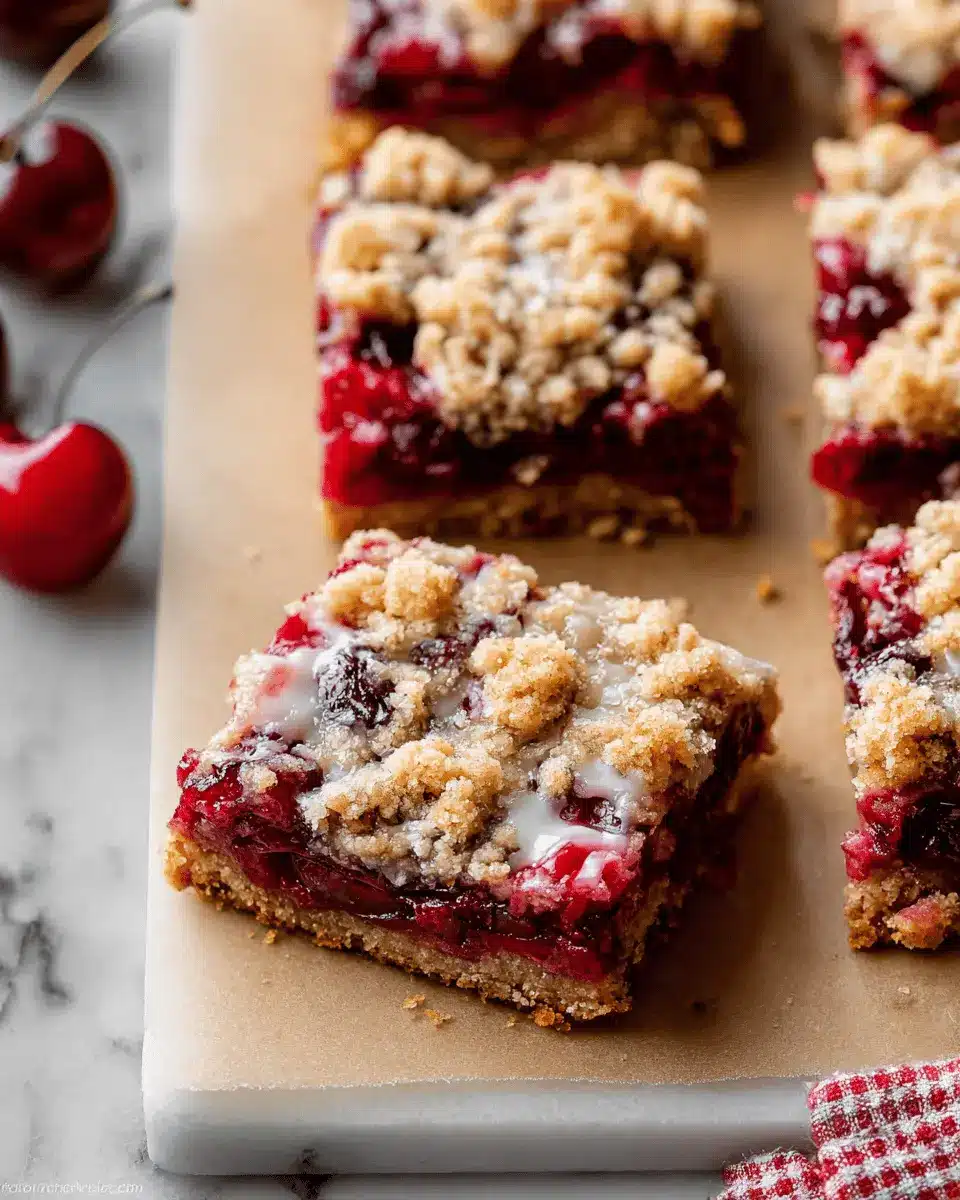
If you’re on the lookout for a delightful treat that effortlessly blends ease with flavor, look no further than Crumb-Topped Cherry Pie Bars. These bars are not only simple to prepare but also bring the nostalgia of classic cherry pie into a modern format that's perfect for busy schedules.
Why Cherry Pie Bars are Perfect for Young Professionals
Young professionals often juggle demanding careers while trying to maintain a semblance of a balanced life. That’s where these cherry pie bars shine! They can be made in advance, offering a quick and satisfying dessert or snack option when you need a sweet pick-me-up after a long day. Plus, using frozen sour cherries means they’re available year-round, making it easy to whip up a batch anytime.
With flavors that evoke memories of family gatherings, this recipe marries convenience with taste. Imagine the ease of slicing up a bar, drizzling it with optional almond icing, and enjoying it during a Netflix marathon or sharing it at a potluck. These bars can impress friends or simply make for a cozy night in. And let’s be honest—who doesn’t crave a touch of nostalgia mixed with the charm of homemade goodness?
If you're ready to bring a little sweetness into your life, let's dive into this easy recipe for Crumb-Topped Cherry Pie Bars.
Ingredients for Crumb-Topped Cherry Pie Bars
Crust and Topping Ingredients
For the base and crumbly topping that makes these Crumb-Topped Cherry Pie Bars truly irresistible, you’ll need:
- 1 and ½ cups all-purpose flour
- 1 cup + 2 Tablespoons old-fashioned whole rolled oats, divided for a chewy texture
- ½ cup packed brown sugar
- 1 teaspoon baking powder
- 1 teaspoon lemon zest for a refreshing zing
- ⅛ teaspoon salt to balance the sweetness
- 10 Tablespoons unsalted butter, melted for richness
- 1 teaspoon pure vanilla extract
Cherry Filling Ingredients
The filling is the star of the show, bursting with flavor! Here’s what you’ll need:
- 1 and ½ Tablespoons cornstarch
- 3 and ½ cups frozen sour cherries (don’t thaw—trust us!)
- ½ cup granulated sugar
- 1 teaspoon fresh lemon juice
- ¼ teaspoon almond extract for that lovely aroma
Optional Almond Icing Ingredients
If you want to take your Crumb-Topped Cherry Pie Bars to the next level, consider adding this optional almond icing:
- 1 cup confectioners’ sugar
- 2 Tablespoons milk
- ¼ teaspoon almond extract
Combining these ingredients will bring your cherry pie bars to life, making for a delightful treat everyone will love! Happy baking!
Preparing Crumb-Topped Cherry Pie Bars
Making delicious Crumb-Topped Cherry Pie Bars is a fun way to show off your baking skills and impress friends or family. Follow this step-by-step guide to prepare these delightful treats, and you’ll have a scrumptious dessert in no time!
Preheat and Prepare the Baking Pan
Start by preheating your oven to 350°F (177°C). While it warms, take a 9-inch square baking pan (I absolutely love this non-stick version) and line it with parchment paper. Leave a little overhang along the sides; this will make it super easy to lift the bars out once they're baked! Setting this up first allows you to focus on the next steps without interruption.
Make the Crust and Topping Mixture
In a medium bowl, whisk together the ingredients for the crust: all-purpose flour, rolled oats, brown sugar, baking powder, lemon zest, and salt. This step is important because it ensures even mixing. Once combined, pour in the melted butter and vanilla extract. Stir until it resembles moist, crumbly sand. Out of this mixture, you'll need to press about ⅔ of it into your prepared pan to form a solid crust. Bake this for 10 minutes—just enough time for the crust to start setting.
Prep the Cherry Filling
While the crust is baking, let’s dive into the cherry filling. You'll need to combine frozen sour cherries, granulated sugar, and lemon juice in a saucepan over medium heat. As the cherries soften, take a moment to dissolve some cornstarch in a bowl with a bit of juice from the mixture. This step will help thicken the filling beautifully. Once it’s thick, remember to stir in almond extract for that extra flavor punch.
Assemble the Bars
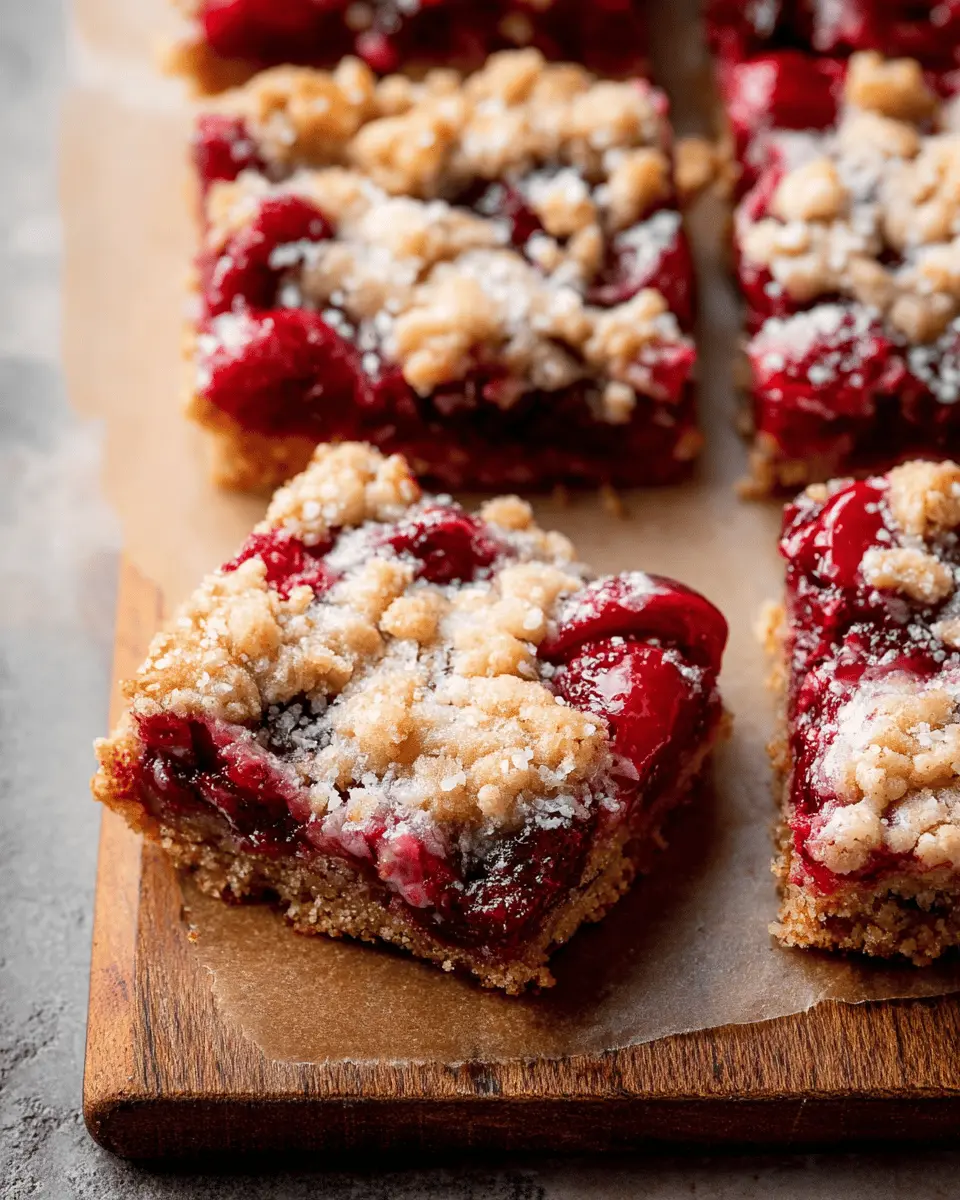
Once the crust has baked for 10 minutes, it's time to bring the bars together. Carefully pour the cherry filling over the warm crust, ensuring it spreads evenly. Take the remaining crumb mixture (don’t forget to add in a couple of tablespoons of oats!) and sprinkle it generously over the cherries, pressing it down slightly with a spatula.
Bake the Crumb-Topped Cherry Pie Bars
Slide your assembled creation back into the oven and bake for 40-50 minutes until the top is golden brown. You’ll know they’re ready when a toothpick comes out mostly clean, with a few cherry specks stuck to it. The aroma will be heavenly—in fact, your neighbors might start wondering what you’re up to!
Cool and Cut
After baking, allow your bars to cool in the pan for about an hour. This cooling time is important for achieving clean cuts later on. For quicker cooling, pop the pan into the refrigerator for a short while. Once set, simply lift out the bars using the parchment overhang and slice into squares.
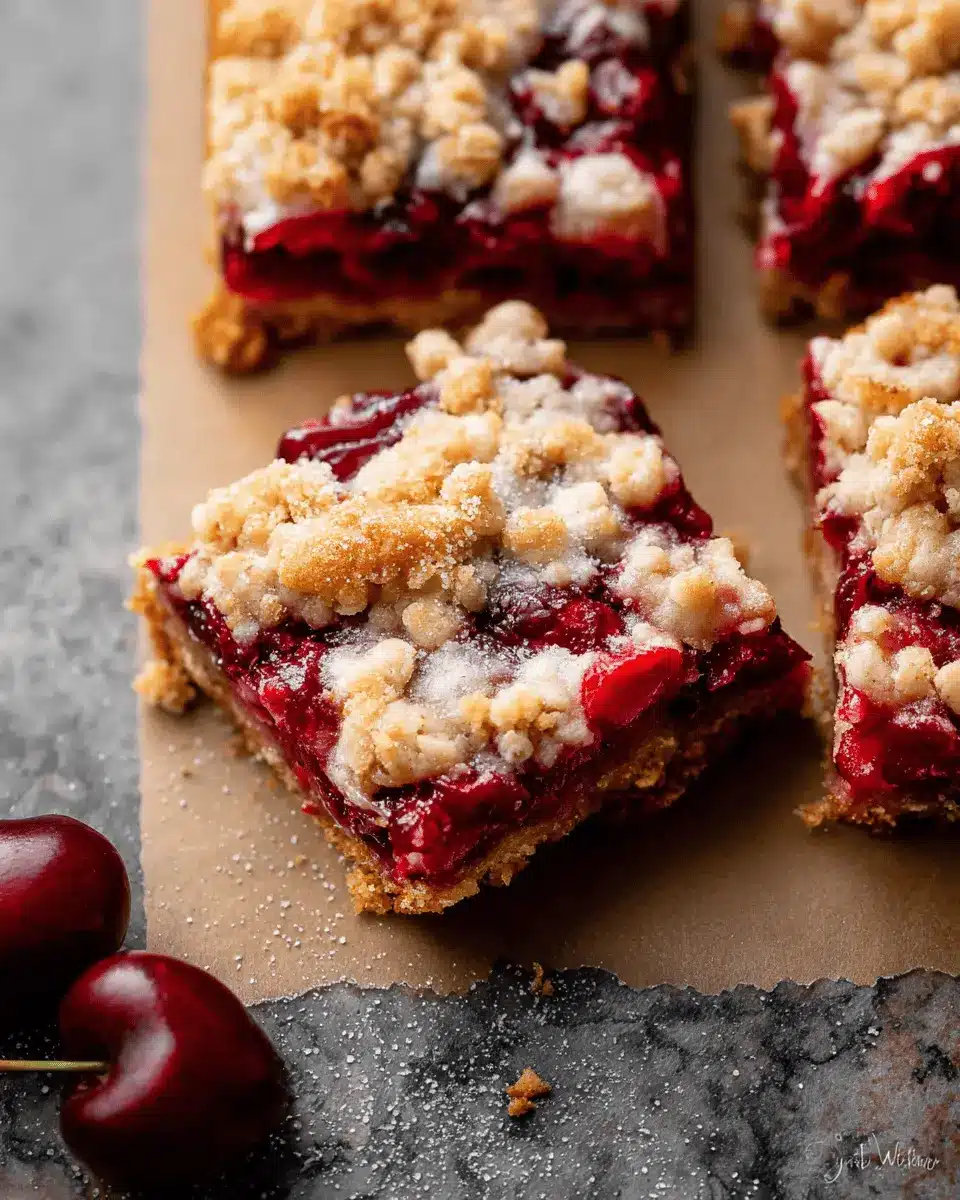
These Crumb-Topped Cherry Pie Bars are sure to become a staple in your dessert repertoire, providing the perfect balance of sweet and tart flavors with a delightful crunch!
Variations on Crumb-Topped Cherry Pie Bars
Using Different Fruits for the Filling
While the classic cherry version of these crumb-topped pie bars is hard to beat, don’t shy away from experimenting with other fruits! Blueberries, raspberries, or even sliced peaches can easily take center stage and offer delightful flavor variations. For a tropical twist, try using mango or pineapple. Just ensure you adjust the sugar content slightly based on the sweetness of your fruit choice.
Gluten-Free Options for the Crust
Got gluten sensitivities? No problem! You can craft delicious gluten-free crumb-topped pie bars by swapping all-purpose flour with a quality gluten-free flour blend. Likewise, ensure your oats are certified gluten-free. A few extra minutes of prep can give you bars that are just as satisfying and crumbly, so everyone can enjoy a treat without worry. For more gluten-free inspiration, check out this article on gluten-free baking tips.
Cooking Tips and Notes for Crumb-Topped Cherry Pie Bars
Ingredient Substitutions
If you’re missing some ingredients, don’t worry! You can use gluten-free flour in place of regular all-purpose flour for a gluten-free version. For a slightly different flavor, try using maple syrup instead of brown sugar in the crust. If you can’t find sour cherries, dark sweet cherries work but reduce the sugar and add a bit more lemon juice for balance.
Baking Tips for Perfect Texture
To achieve the best texture for your Crumb-Topped Cherry Pie Bars, ensure your butter is just melted—too hot can lead to a greasy crust. Press the crust firmly into the pan, and let everything cool slightly after baking for optimal layering. And don’t skip the chilling step before cutting; this helps the bars hold their shape beautifully! Keep these tips in mind, and you’ll have delicious cherry bars that are sure to impress.
Serving Suggestions for Crumb-Topped Cherry Pie Bars
Accompaniments that Pair Well with the Bars
When enjoying your Crumb-Topped Cherry Pie Bars, consider serving them with a scoop of creamy vanilla ice cream or a dollop of whipped cream for a delightful contrast to the tart cherries. For a breakfast twist, serve alongside Greek yogurt and fresh berries to balance the sweetness.
Presentation Ideas for a Charming Dessert Display
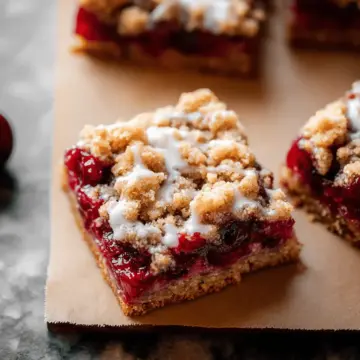
Elevate your dessert presentation by placing the Crumb-Topped Cherry Pie Bars on a rustic wooden board or a decorative cake stand. Add a few sprigs of mint or some fresh cherries for a pop of color. You can even drizzle the optional almond icing over the bars just before serving for an elegant touch. For more tips on dessert presentation, check out this guide.
Time Breakdown for Crumb-Topped Cherry Pie Bars
Preparation Time
Preparing the Crumb-Topped Cherry Pie Bars is a breeze! You’ll need about 15 minutes to gather your ingredients and mix up the crust and cherry filling. It's a simple process that will have your kitchen smelling delightful in no time.
Baking Time
Once you have everything prepped, baking takes approximately 50 minutes. Your bars will need 10 minutes for the initial crust bake followed by 40 to 50 minutes to finish cooking after adding the cherry filling and topping.
Cooling Time
Don’t rush this part! Allow your Crumb-Topped Cherry Pie Bars to cool in the pan for about 1 hour before you dive in. For quicker results, you can place them in the refrigerator for an additional chill. Perfect for those warm days when you can't wait to serve dessert!
Isn’t it great to have a clear timeline for your baking adventure? Planning your time well makes the experience enjoyable and stress-free. For more tips on timing your baking projects, check out Sally’s Baking Addiction for expert advice!
Nutritional Facts for Crumb-Topped Cherry Pie Bars
Calories per Serving
Each serving of these delightful Crumb-Topped Cherry Pie Bars contains approximately 230 calories. This makes them a sweet yet moderate indulgence for those looking to enjoy a flavorful dessert without going overboard.
Key Nutritional Highlights
These bars are not just tasty; they offer some nutritional benefits too! Here’s what you can expect per serving:
- High in Fiber: Thanks to the oats and cherries, they provide a good amount of fiber, which can support digestive health.
- Vitamin C: The cherries contribute a healthy dose of vitamin C, an essential nutrient that supports your immune system.
- Antioxidants: Cherries are rich in antioxidants, which can help reduce inflammation and may lower the risk of certain diseases.
Consider these Crumb-Topped Cherry Pie Bars a delightful treat that balances indulgence with some nutritional goodness. For more on the health benefits of cherries, check out Healthline's insights. Enjoy your baking!
FAQs about Crumb-Topped Cherry Pie Bars
Can I use fresh cherries instead of frozen?
Absolutely! You can use fresh sour cherries in your Crumb-Topped Cherry Pie Bars for a delightful twist. Just make sure to adjust the sugar, as fresh cherries can be a bit more tart. Consider adding a touch more sugar if your cherries are on the sour side.
How do I store leftover bars?
To keep your tasty treats fresh, store any leftover Crumb-Topped Cherry Pie Bars in an airtight container. You can keep them at room temperature for up to two days, or refrigerate them for up to a week. If you love a chilled dessert, they’re just as delicious straight from the fridge!
Can I make these in advance?
Yes, you definitely can! Prepare the bars a day ahead of time and refrigerate them before cutting. They also freeze quite well for up to three months. Just thaw them overnight in the refrigerator before enjoying. For more tips on freezing baked goods, check out this handy guide on freezing desserts.
Enjoy preparing your Crumb-Topped Cherry Pie Bars!
Conclusion on Crumb-Topped Cherry Pie Bars
In conclusion, Crumb-Topped Cherry Pie Bars offer a delightful balance of sweet and tart flavors, encapsulated in a buttery, crumbly topping. Perfect for gatherings or a cozy evening treat, these bars are sure to please anyone with a sweet tooth. Embrace the joy of baking and savor each bite!
Crumb-Topped Cherry Pie Bars
Equipment
- 9-inch square baking pan
- medium bowl
- saucepan
- Whisk
- Cooling Rack
Ingredients
Crust + Topping
- 1.5 cups all-purpose flour (spooned & leveled)
- 1 cup old-fashioned whole rolled oats divided
- 2 tablespoons old-fashioned whole rolled oats divided
- 0.5 cups brown sugar packed
- 1 teaspoon baking powder
- 1 teaspoon lemon zest
- 0.125 teaspoon salt
- 10 tablespoons unsalted butter melted
- 1 teaspoon pure vanilla extract
Cherry Filling
- 1.5 tablespoons cornstarch
- 3.5 cups frozen sour cherries (do not thaw)
- 0.5 cups granulated sugar
- 1 teaspoon fresh lemon juice
- 0.25 teaspoon almond extract
Almond Icing (Optional)
- 1 cup confectioners’ sugar
- 2 tablespoons milk
- 0.25 teaspoon almond extract
Instructions
Preparation
- Preheat oven to 350°F (177°C). Line a 9-inch square baking pan with parchment paper, leaving an overhang on the sides to easily lift the bars out of the pan.
- In a medium bowl, whisk together the flour, 1 cup oats, brown sugar, baking powder, lemon zest, and salt. Add melted butter and vanilla, and stir until the mixture resembles moist crumbly sand. Press ⅔ of the mixture into the prepared baking pan.
- Bake the crust for 10 minutes, then remove from oven to slightly cool.
- In a medium saucepan over medium heat, combine cherries, sugar, and lemon juice. Cook for about 4 to 6 minutes until cherries release their juices.
- Mix cornstarch with a couple of spoonfuls of cherry juice. Stir this mixture into the filling, bring to a boil, and cook until thickened for about 10 minutes. Remove from heat and stir in almond extract.
- Pour/spread the filling over the warm crust, sprinkle remaining crumble mixture with added oats on top, and lightly press down.
- Bake for 40–50 minutes or until lightly browned and a toothpick comes out mostly clean. Allow to cool completely.
- Whisk together icing ingredients and drizzle over cooled bars before slicing and serving.

Leave a Reply